Students use Scoir to request teacher recommendation letters to support their college applications. Your letter gives colleges a deeper understanding of who the student is, beyond just grades and test scores.
When a student sends you a request in Scoir, you’ll get an email notification. You can follow the link in that email to go straight to the request, or log into Scoir to view and manage all of your requests on your teacher dashboard.
May 2025: Updates to the Teacher Recommendation Process
We’ve made changes to help schools strengthen teacher recommendations and get ready for the Scoir + Common App integration.
Teachers at schools using the CA integration will be required to complete any missing profile information and complete new required evaluation questions and optional student ratings.
Any submitted Class of 2026 recommendations will return to Outstanding Requests so teachers can add the new required fields. The original letter will still be visible in the Short Recommendations section for reference. Just click Edit to update and resubmit the recommendation.
Before completing recommendations, you may be prompted to complete missing required information. What you see will differ depending on whether your school uses the Common App integration.
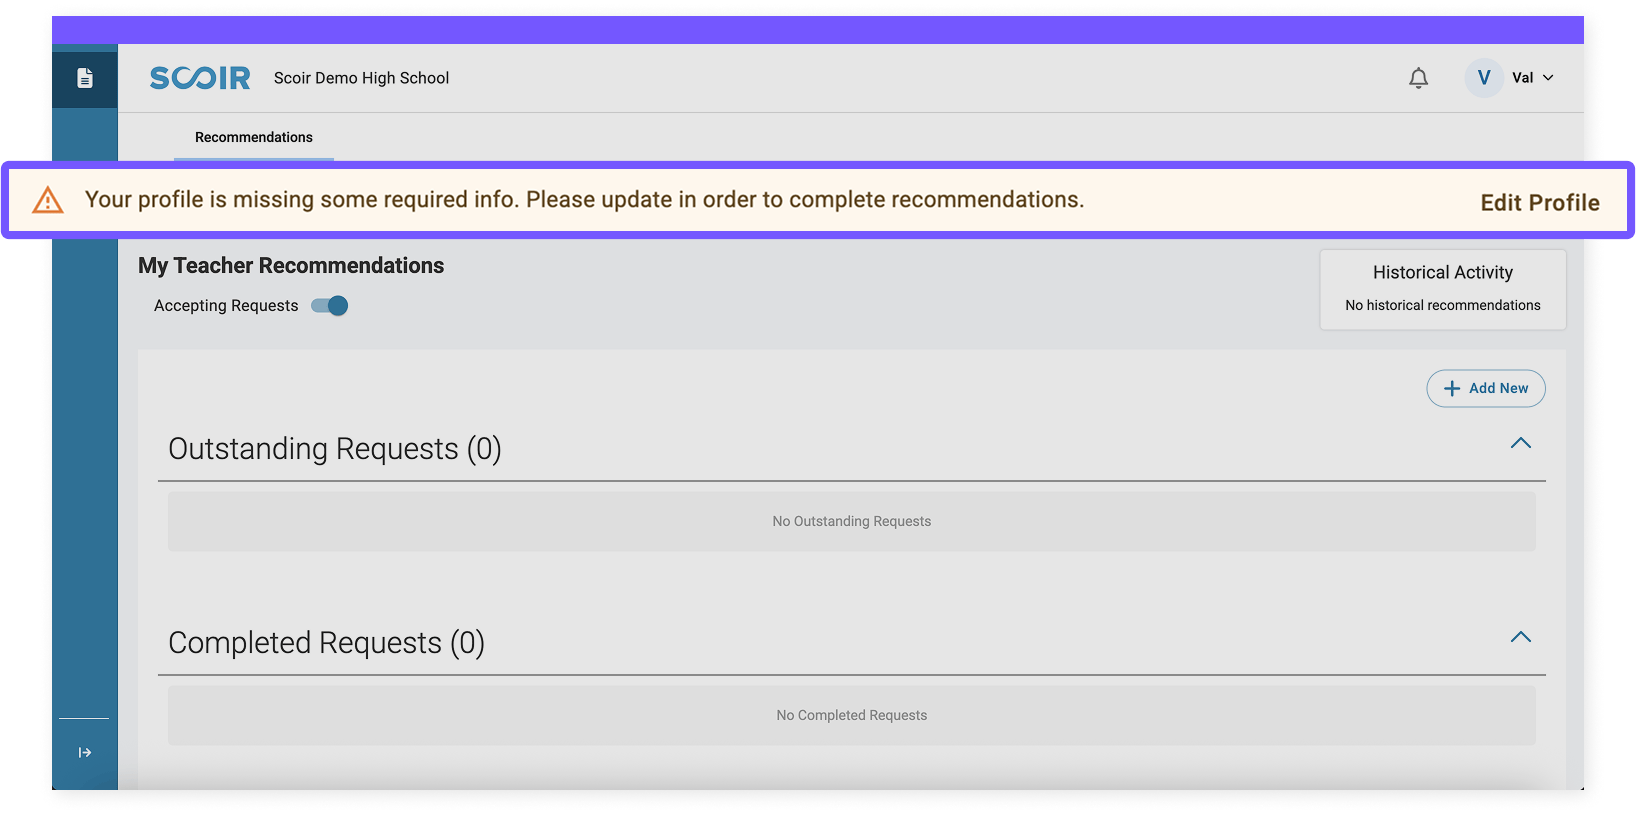
If Your School Does Not Use the Scoir + Common App Integration
If your school does not use the Scoir + Common App integration, you may see a yellow banner at the top of your dashboard that says:
“Your profile is missing some required info. Please update in order to complete recommendations.”
This appears if your title or personal phone number is missing from your profile. These details are included on the cover letter colleges receive, so we recommend completing them before submitting any recommendations. This is a one-time step and won’t be required again after your profile is updated.
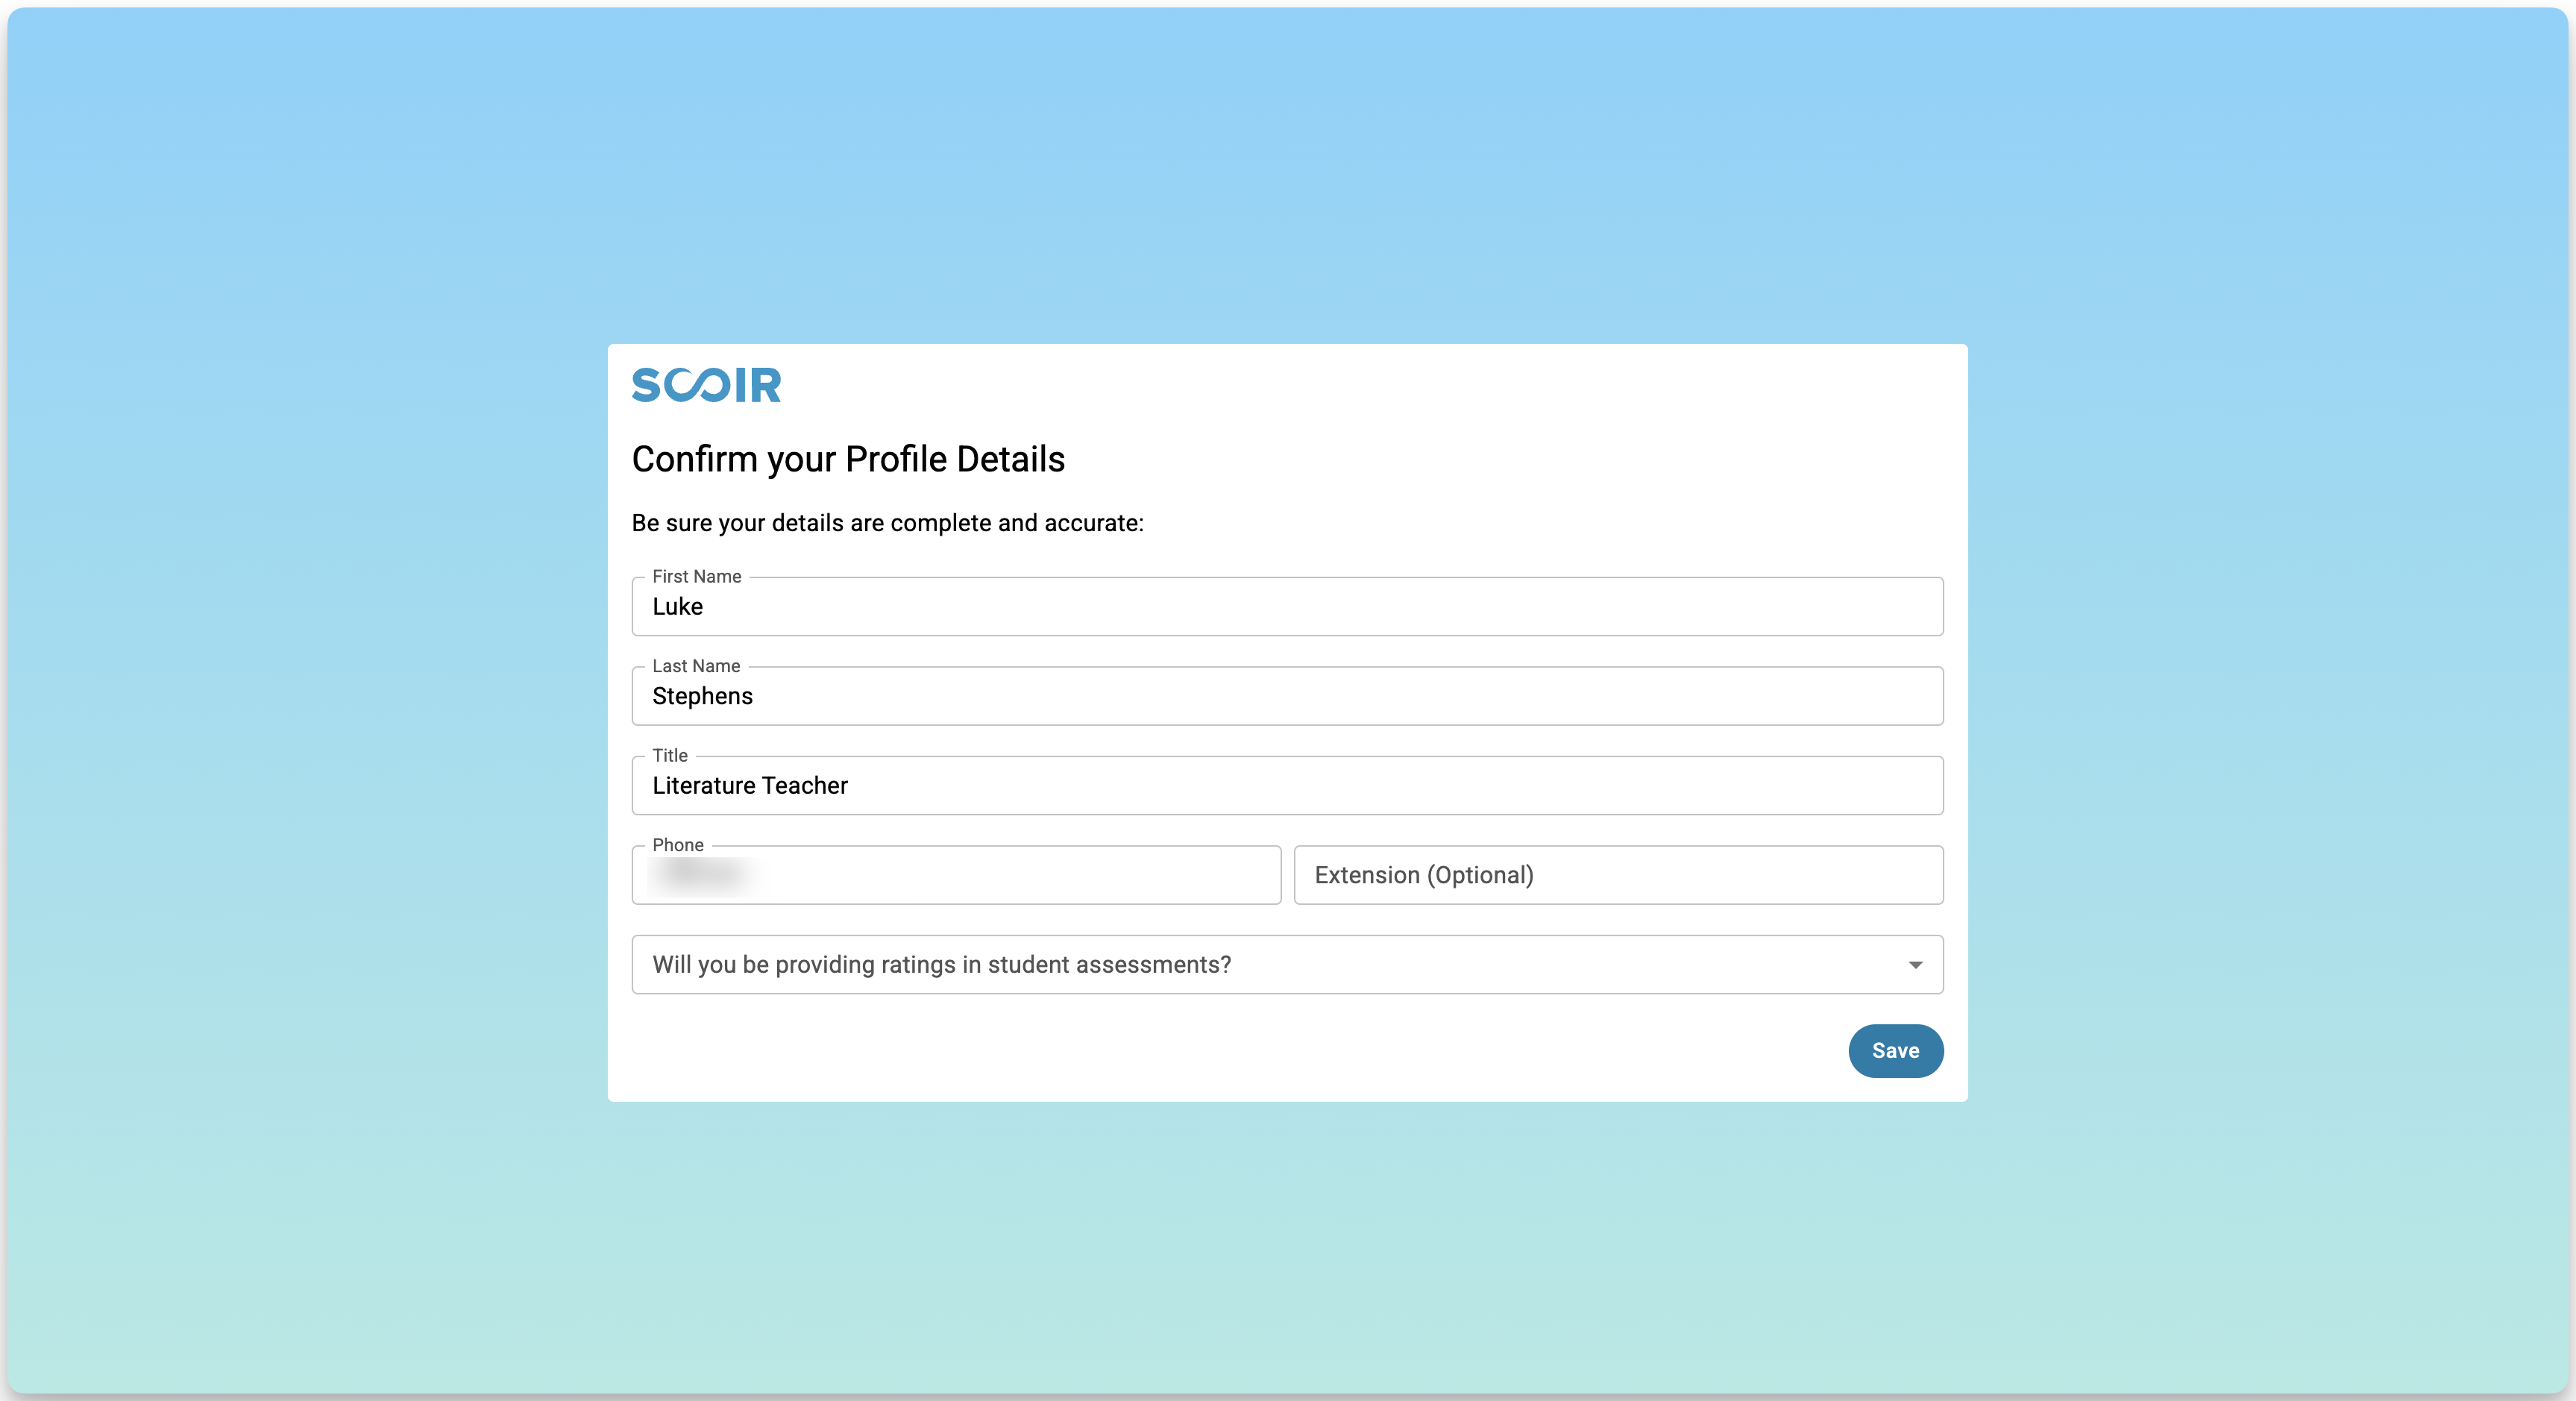
If Your School Does Use the Scoir + Common App Integration
If your school uses the Scoir + Common App integration, you’ll be prompted to confirm or enter any missing required personal information the next time you log in. A profile confirmation screen will appear, and you won’t be able to continue in Scoir until this step is completed.
You’ll be asked to:
Confirm or enter your first name, last name, title, and personal phone number
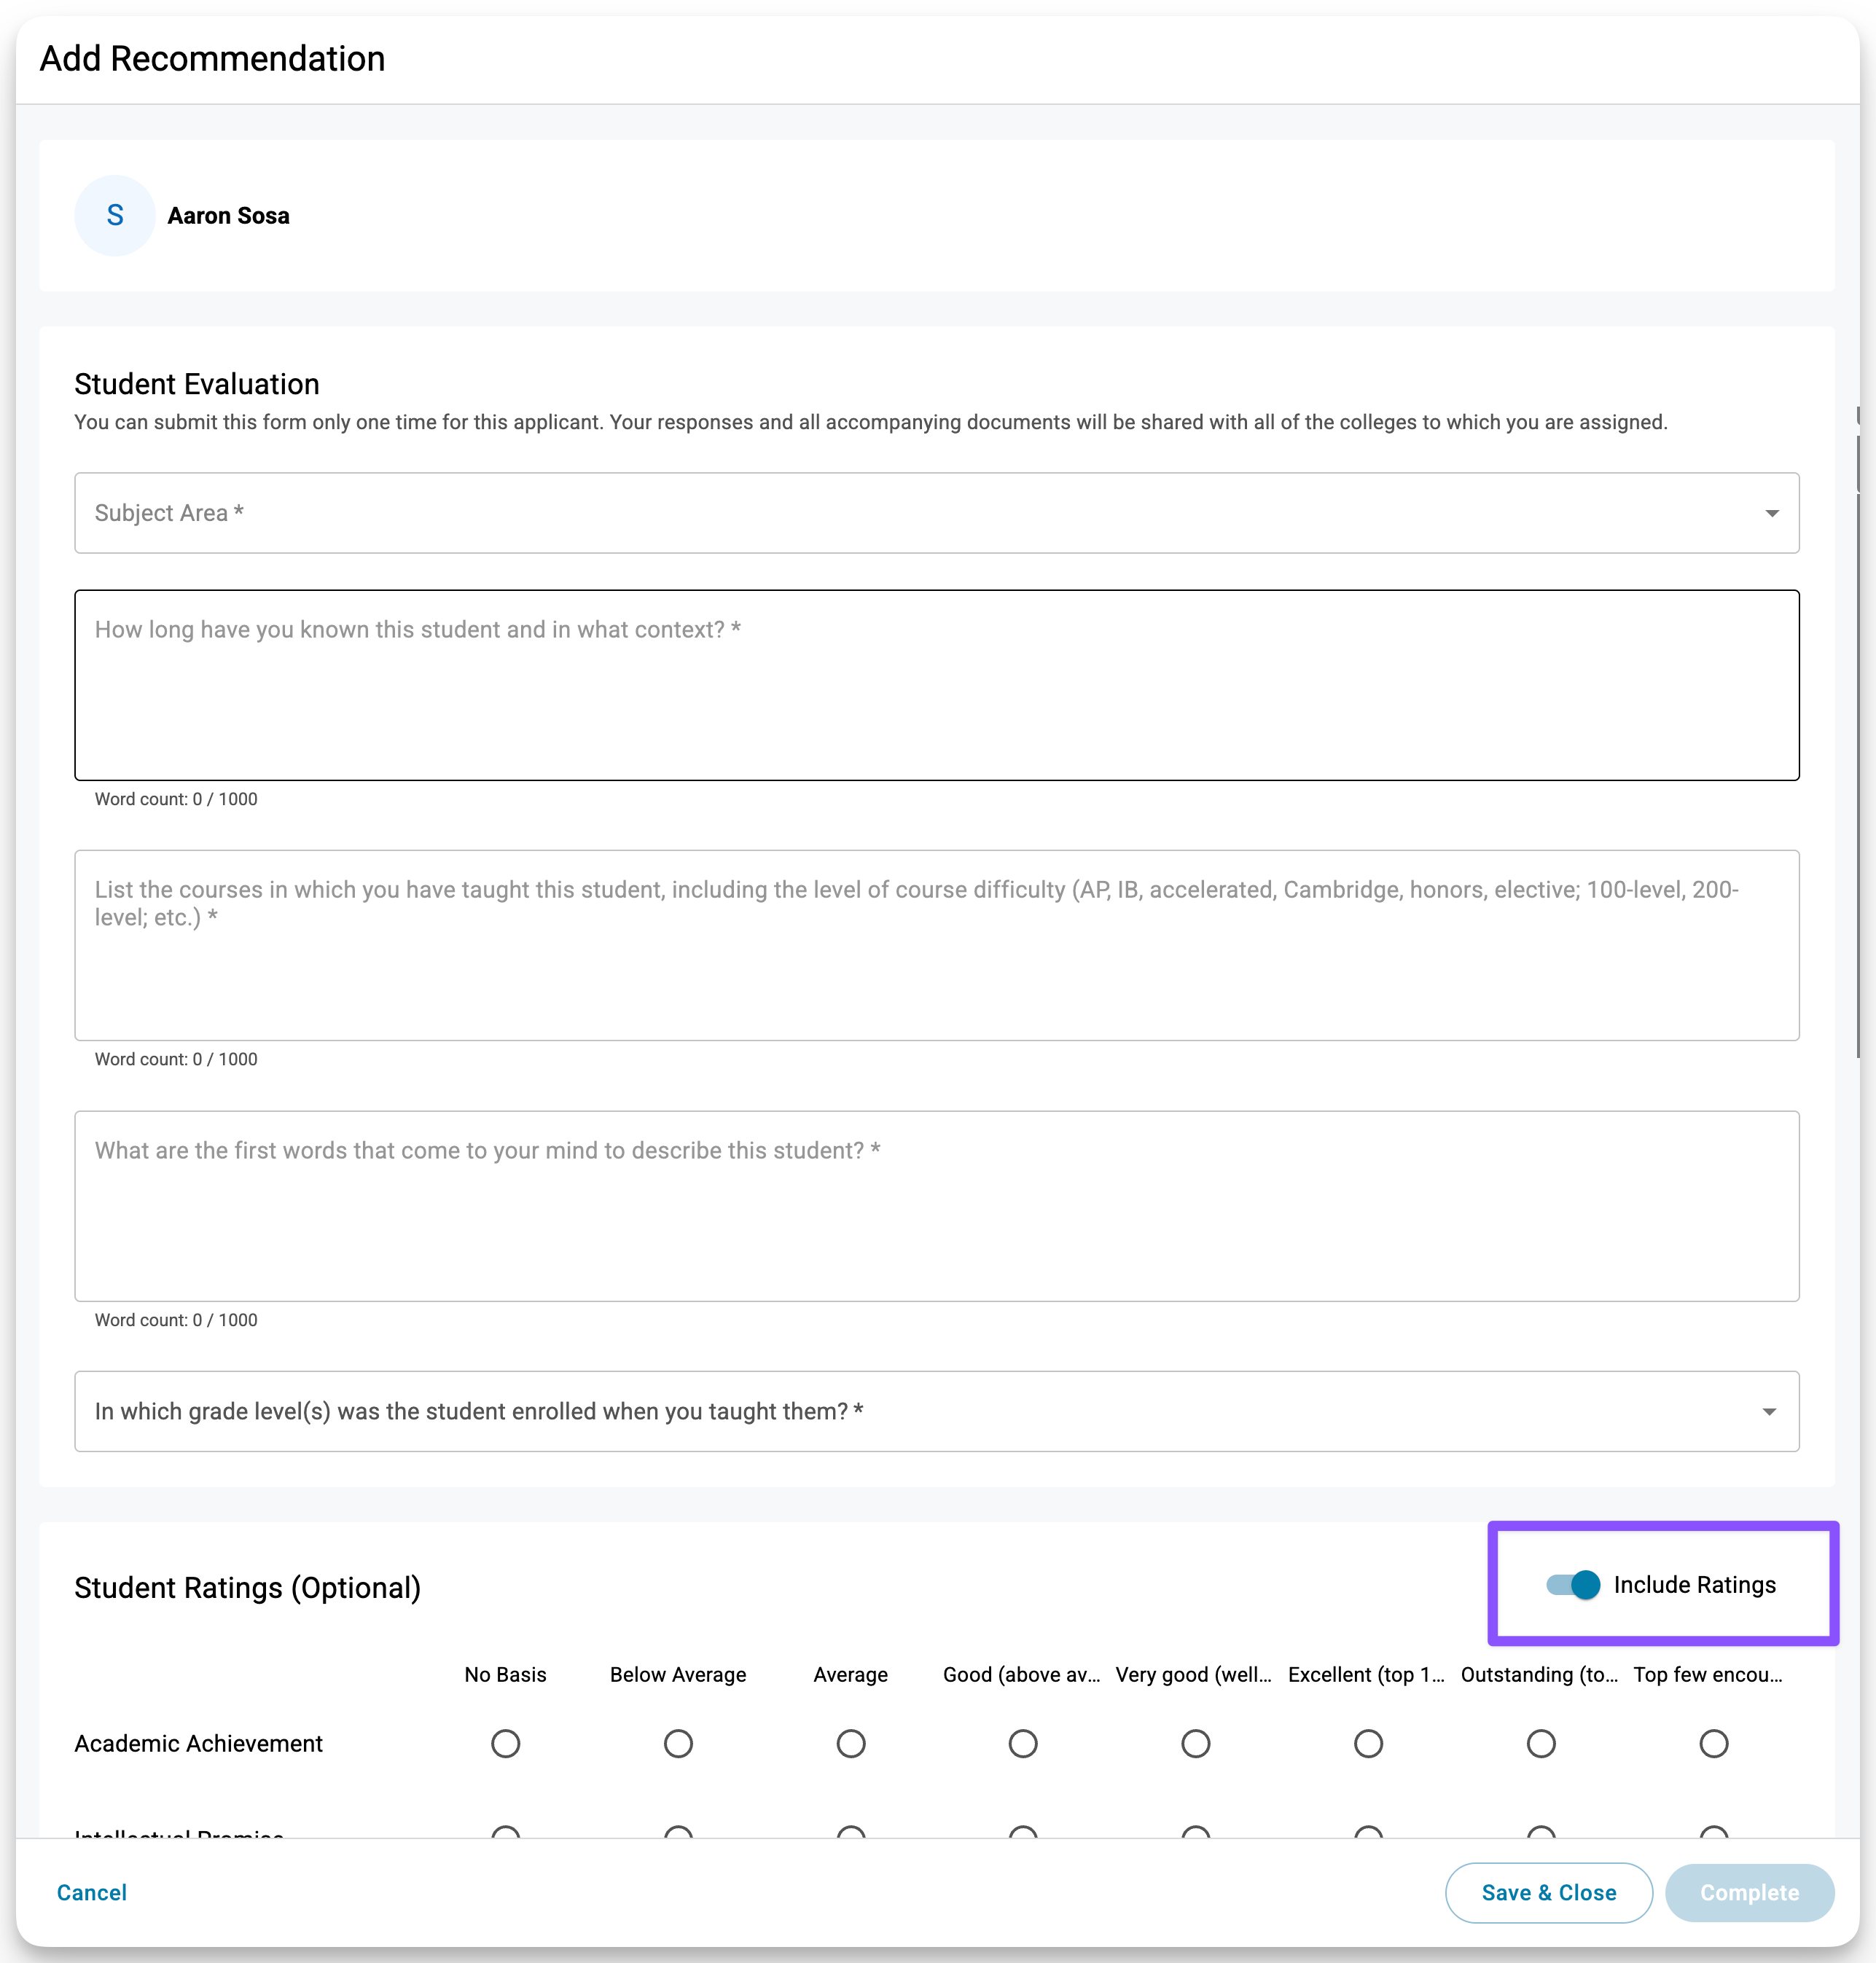
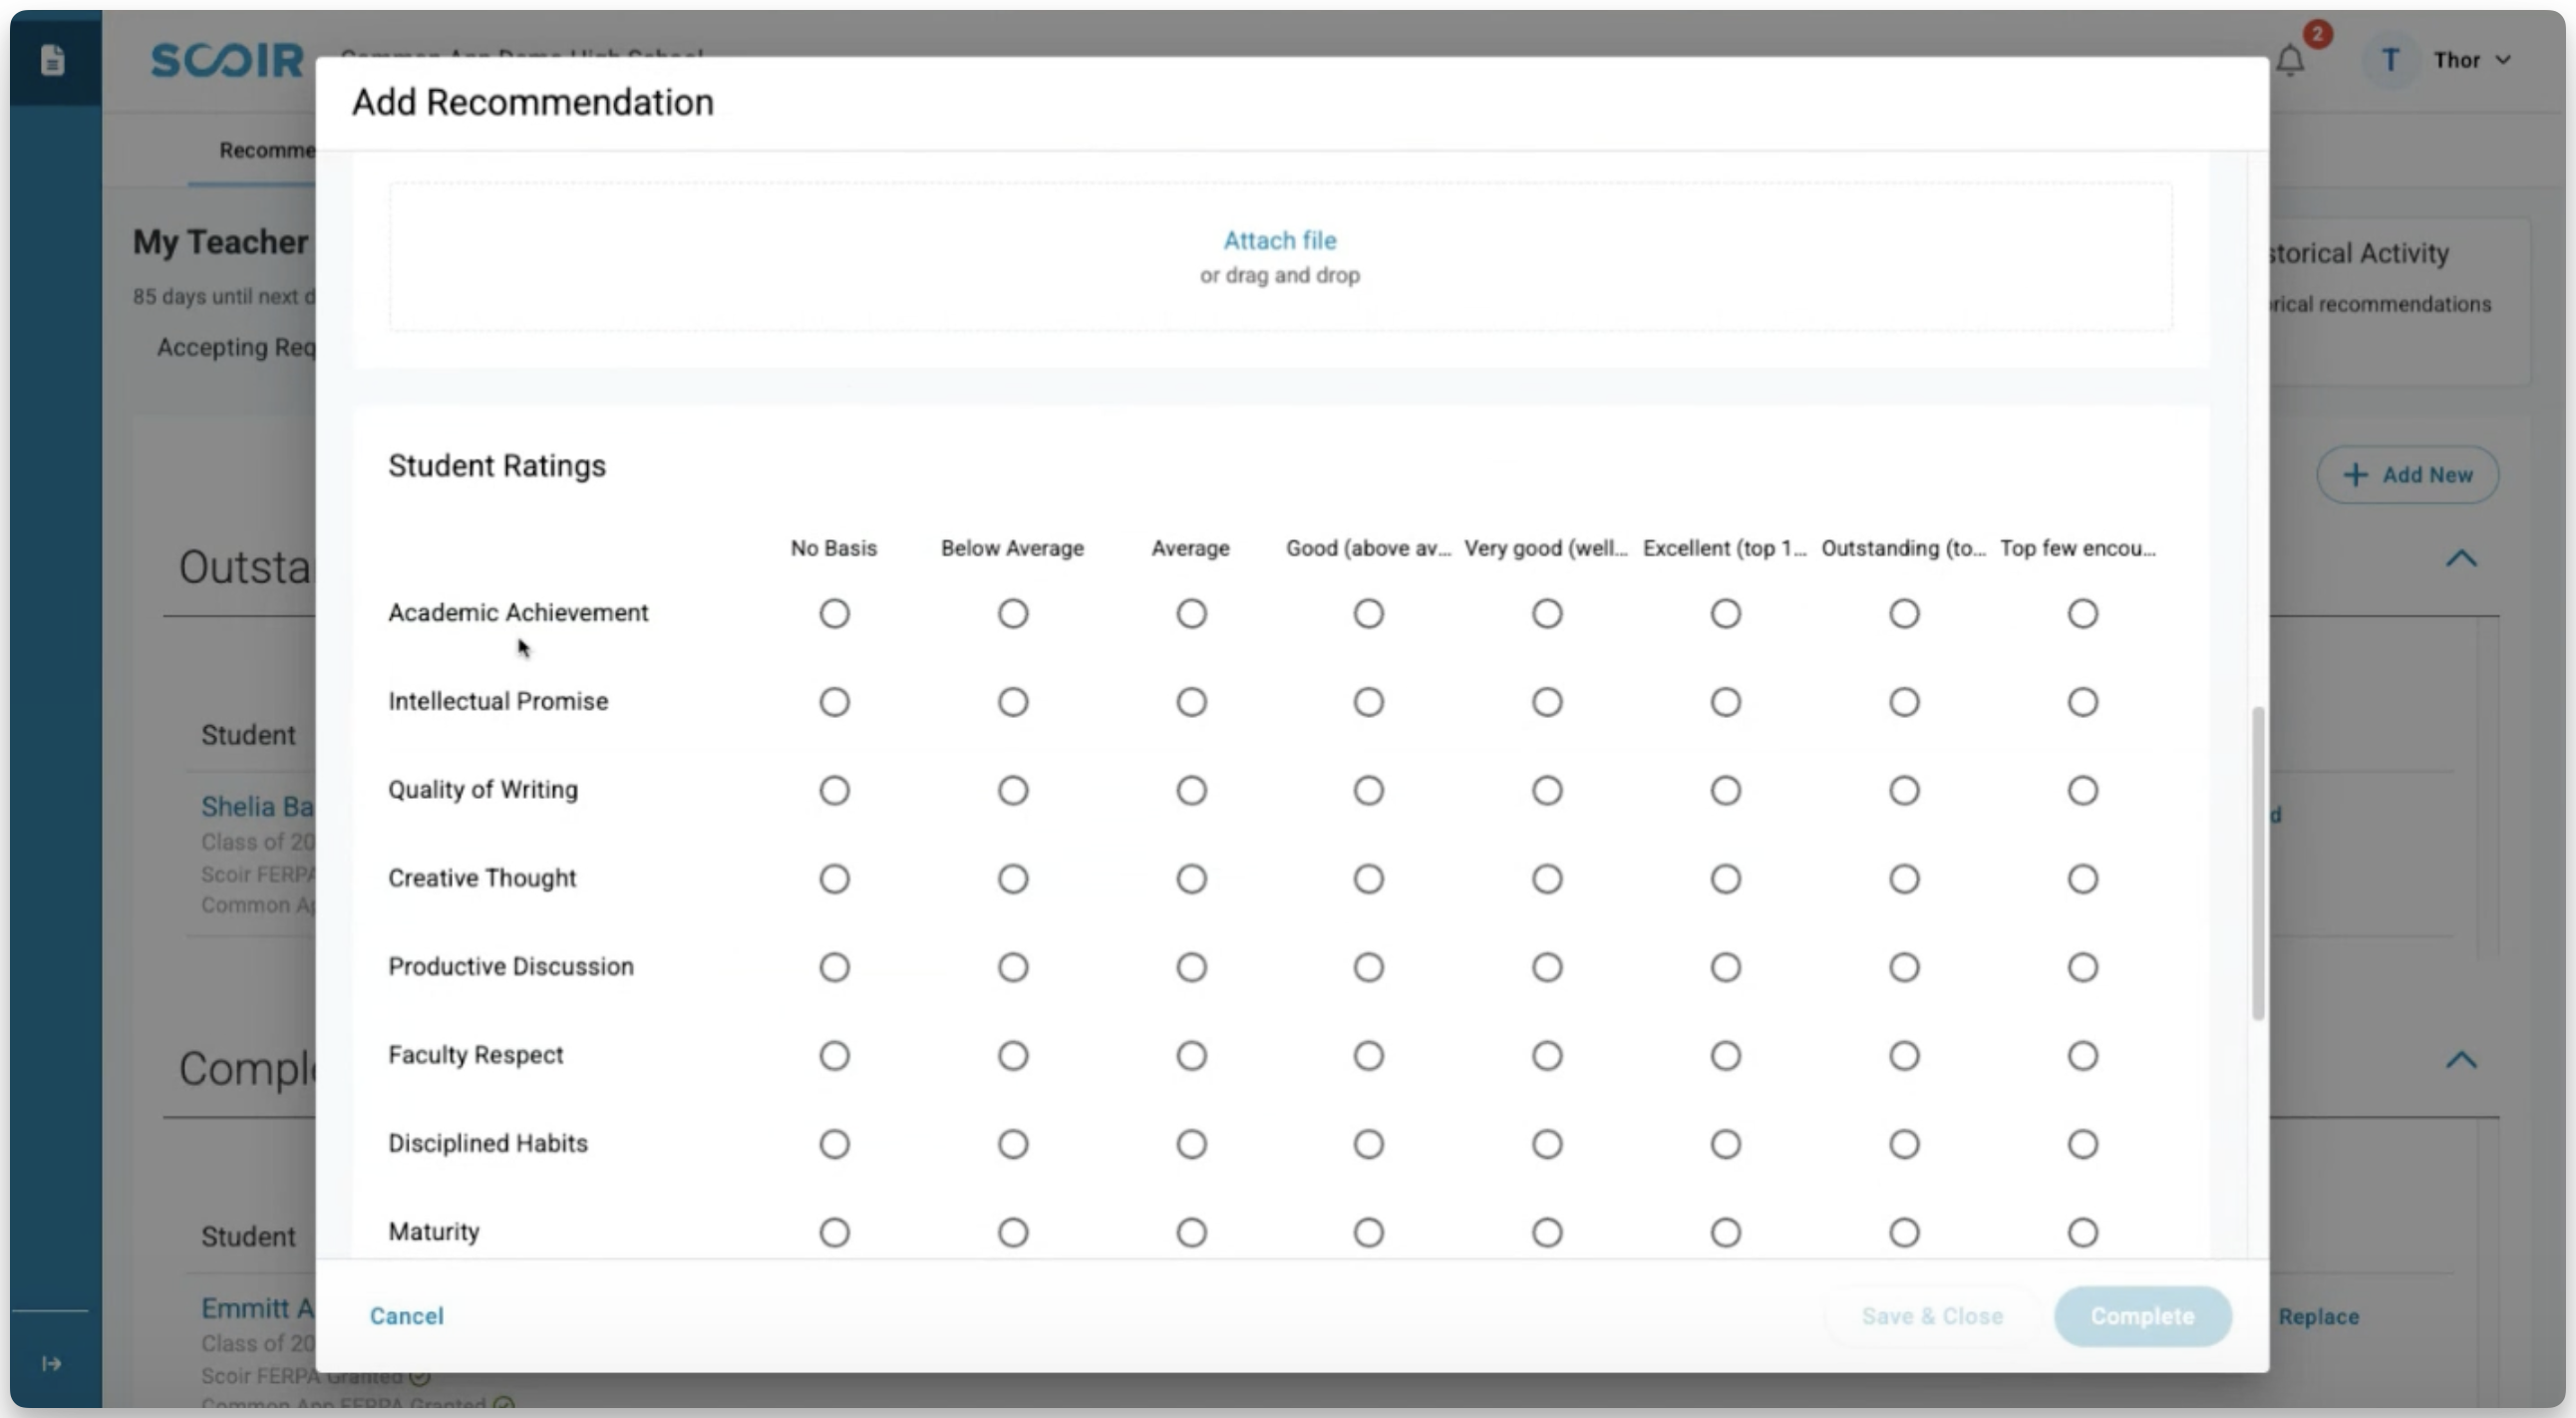
Choose whether or not to include student ratings as part of your recommendations
If you choose Yes, all 16 student rating fields will be required for every recommendation you complete.
If you choose No, ratings will not be presented for you to complete.
(Example of ratings show in image below)
Updating Your Profile or Ratings Preferences
You can update your personal information or ratings preference at any time in your Scoir profile.
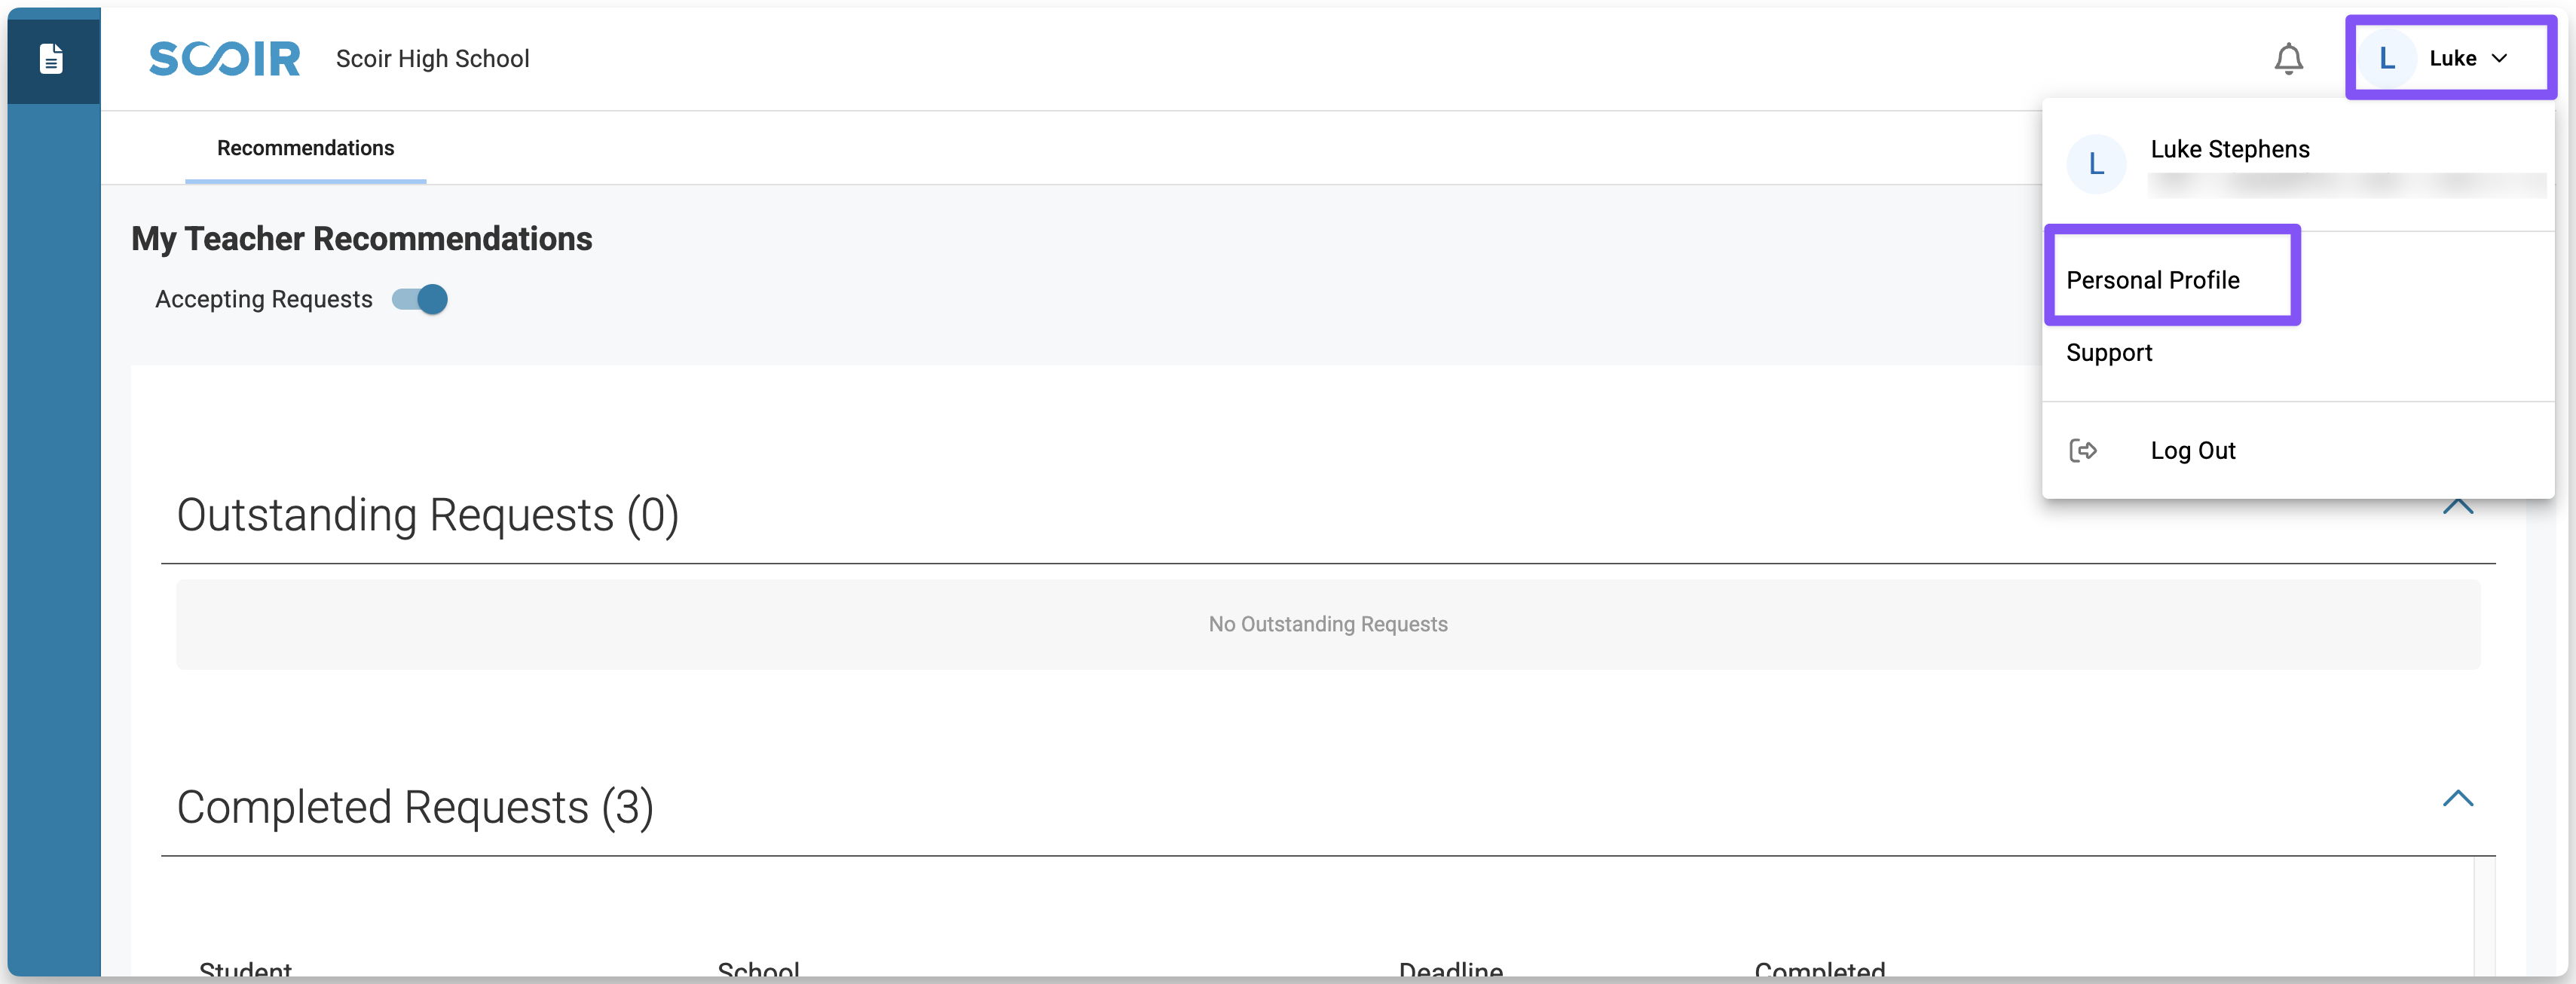
Click your name in the top-right corner and select Personal Profile.
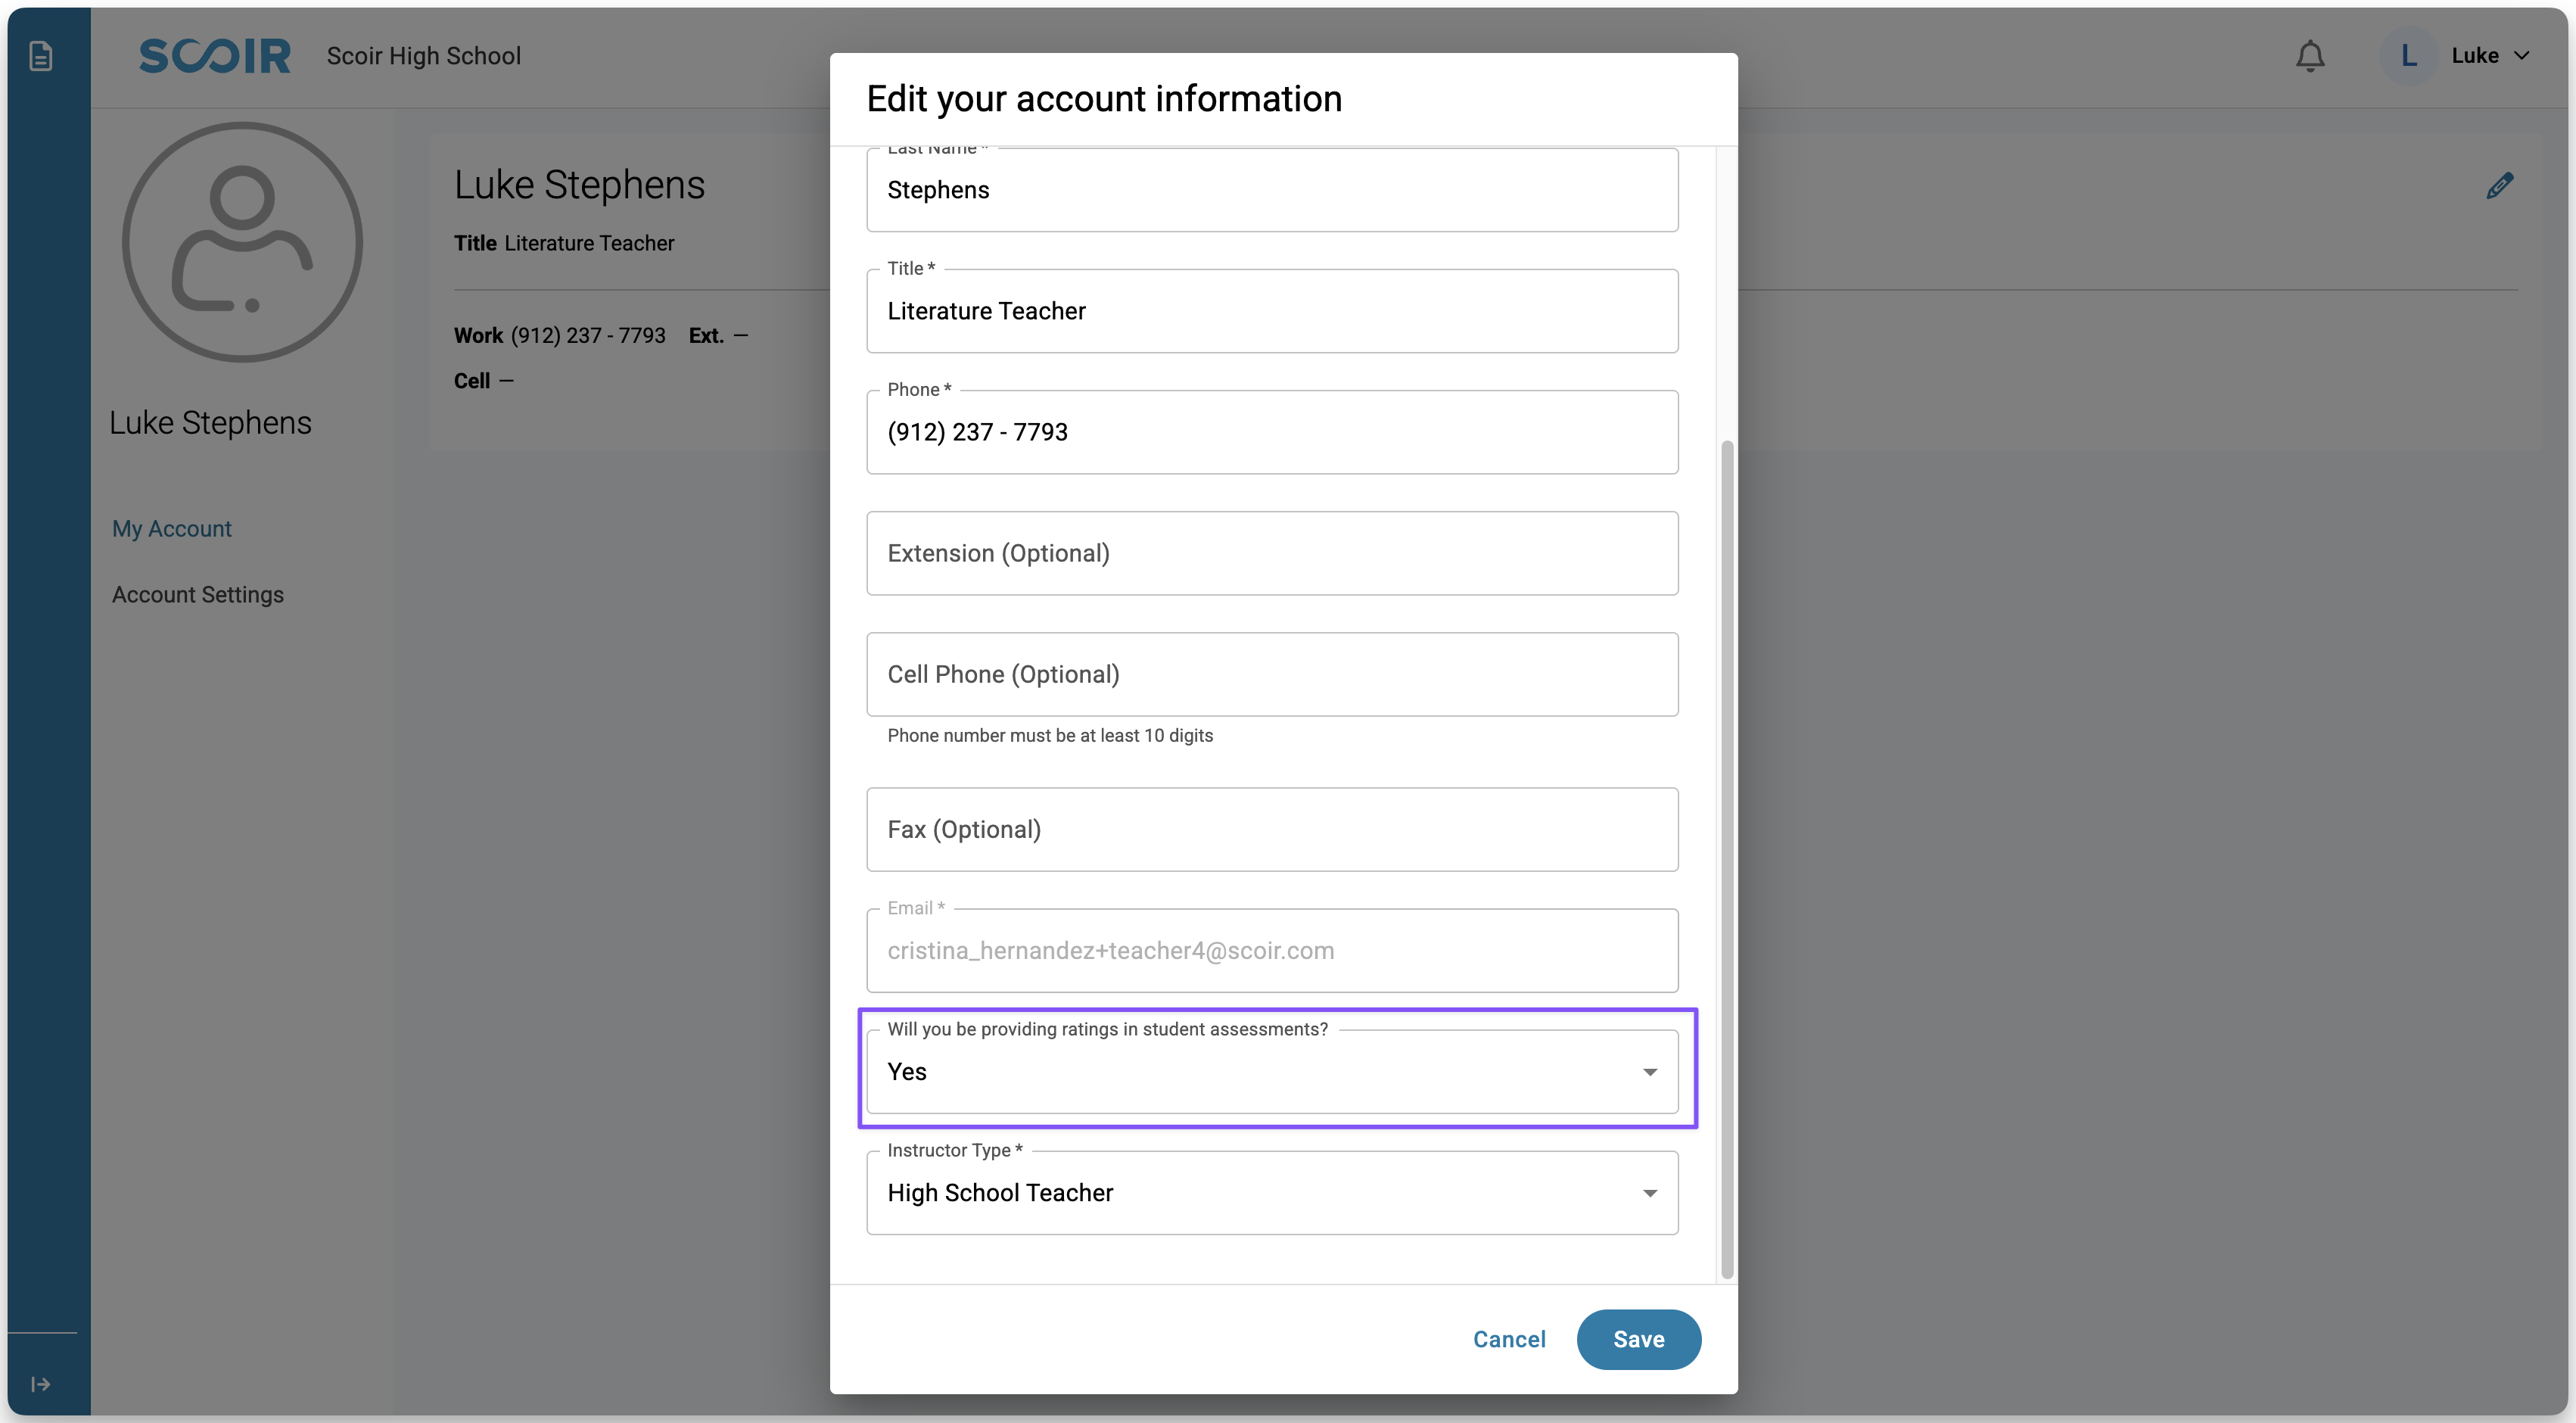
Click the pencil icon to open the Edit Your Account Information window.
From there, update your personal details if needed and scroll to Will you be providing ratings in student assessments? and update your selection. Click Save.
If teachers change their ratings preference, here’s what happens:
If a teacher completes recommendations without ratings but then opts in to submit ratings, they must replace the existing (unsent) recommendations or those recommendations will be submitted with all rating fields marked No Basis.
If a teacher writes a recommendation with ratings enabled, but turns ratings off before the recommendation is sent, the ratings will not be included. If the recommendation has already been sent, any ratings included at that time will be sent with it.
Complete a recommendation request
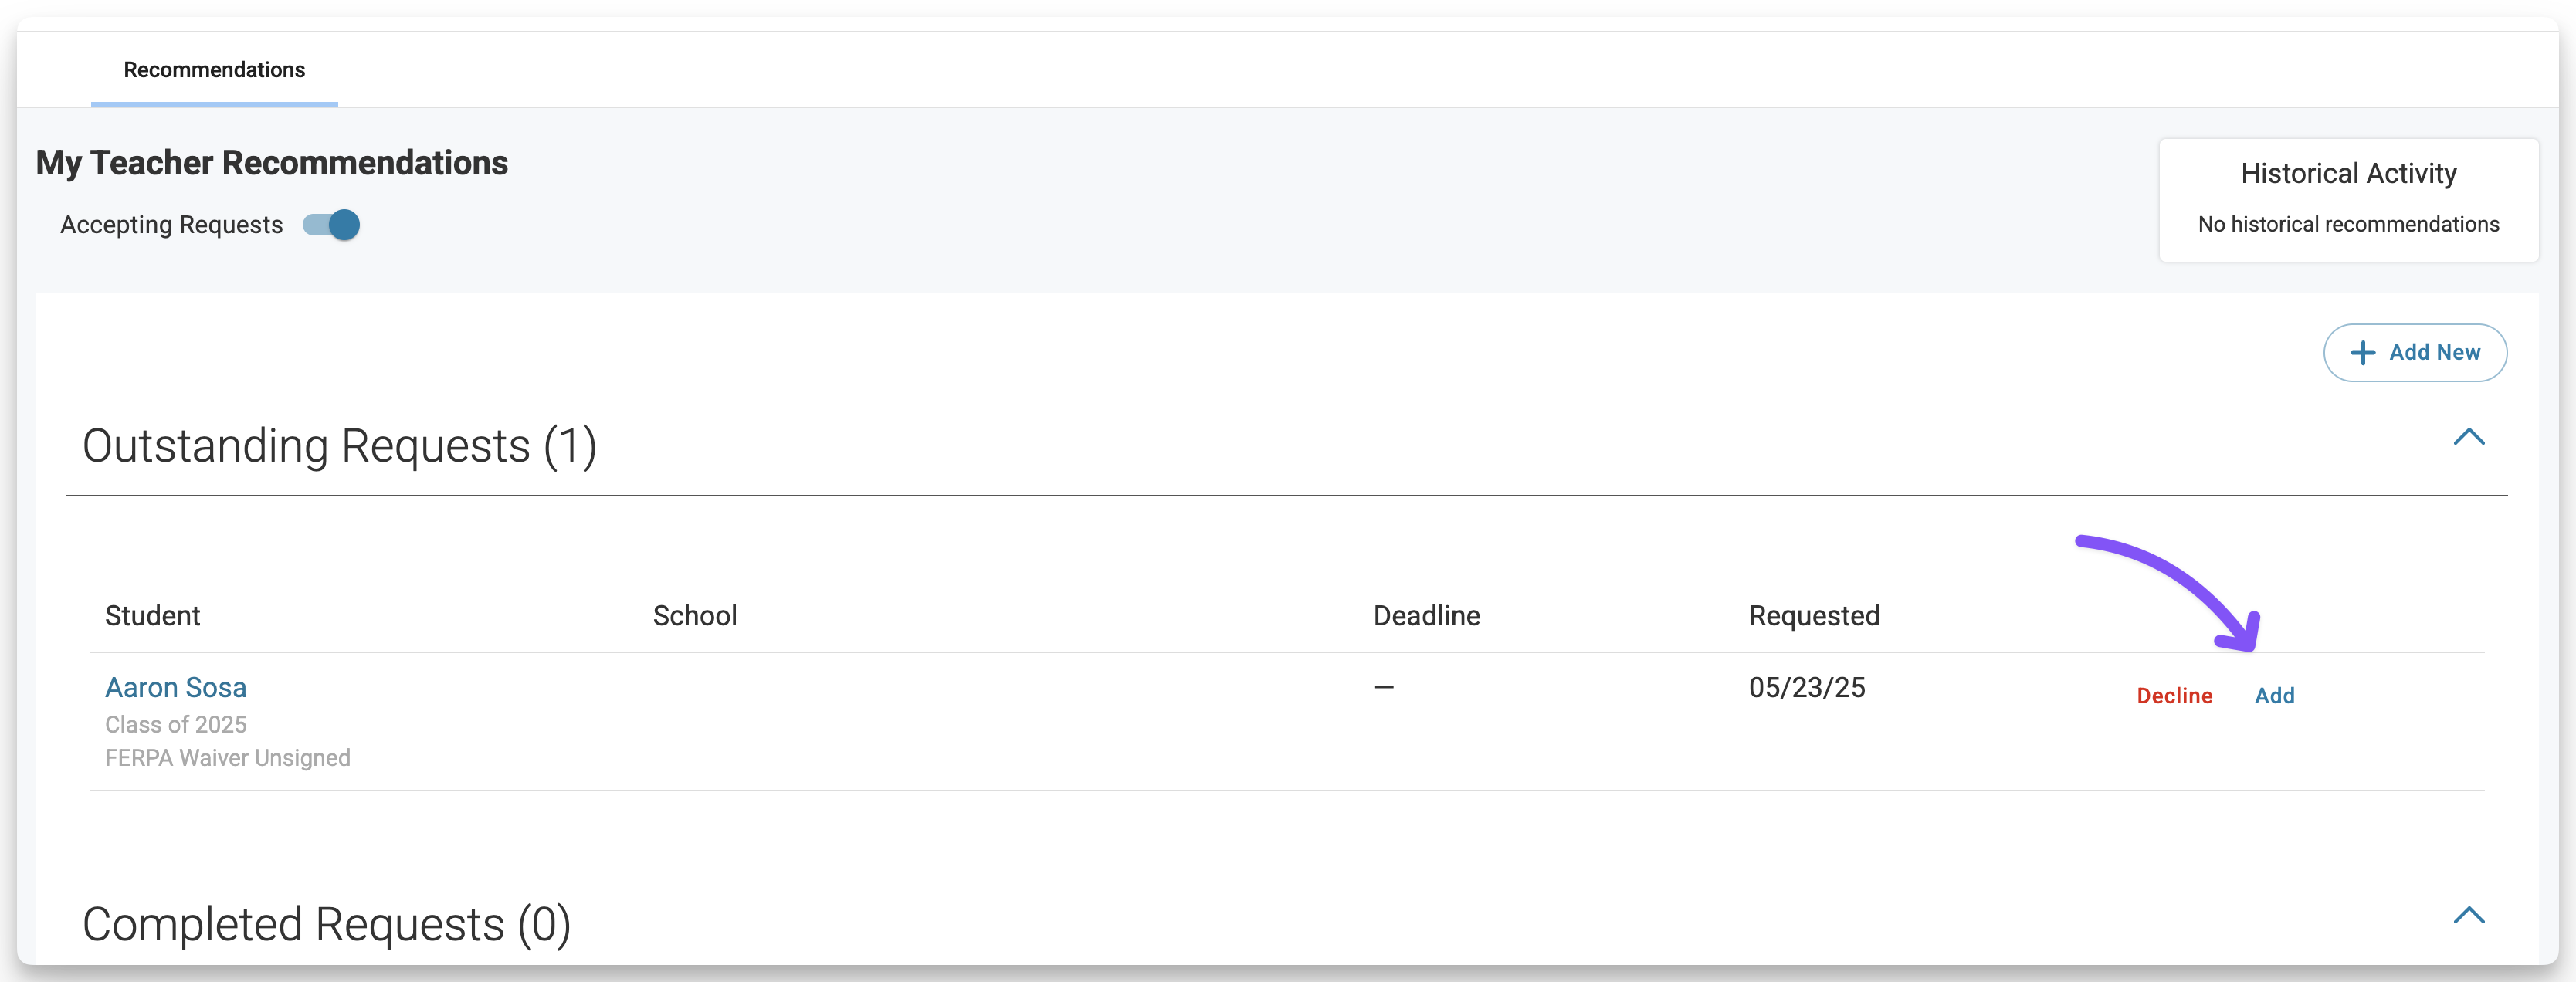
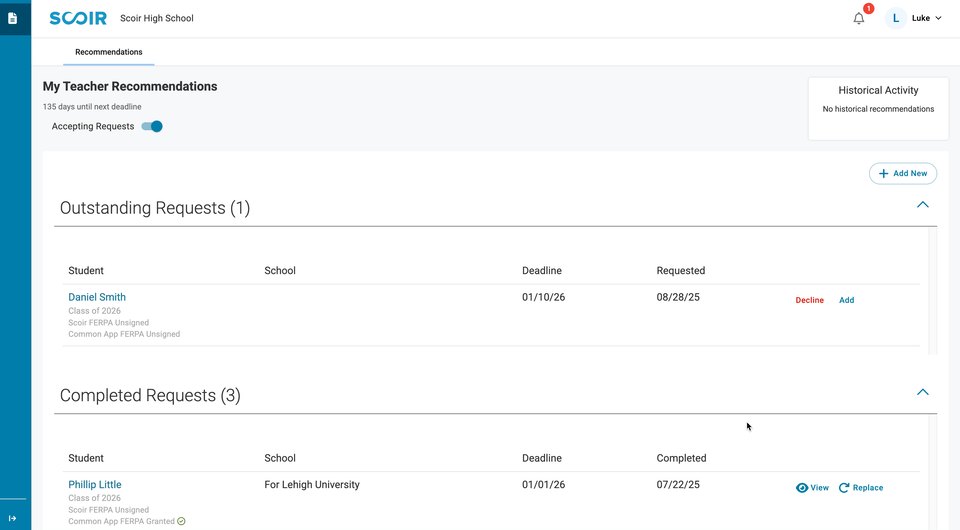
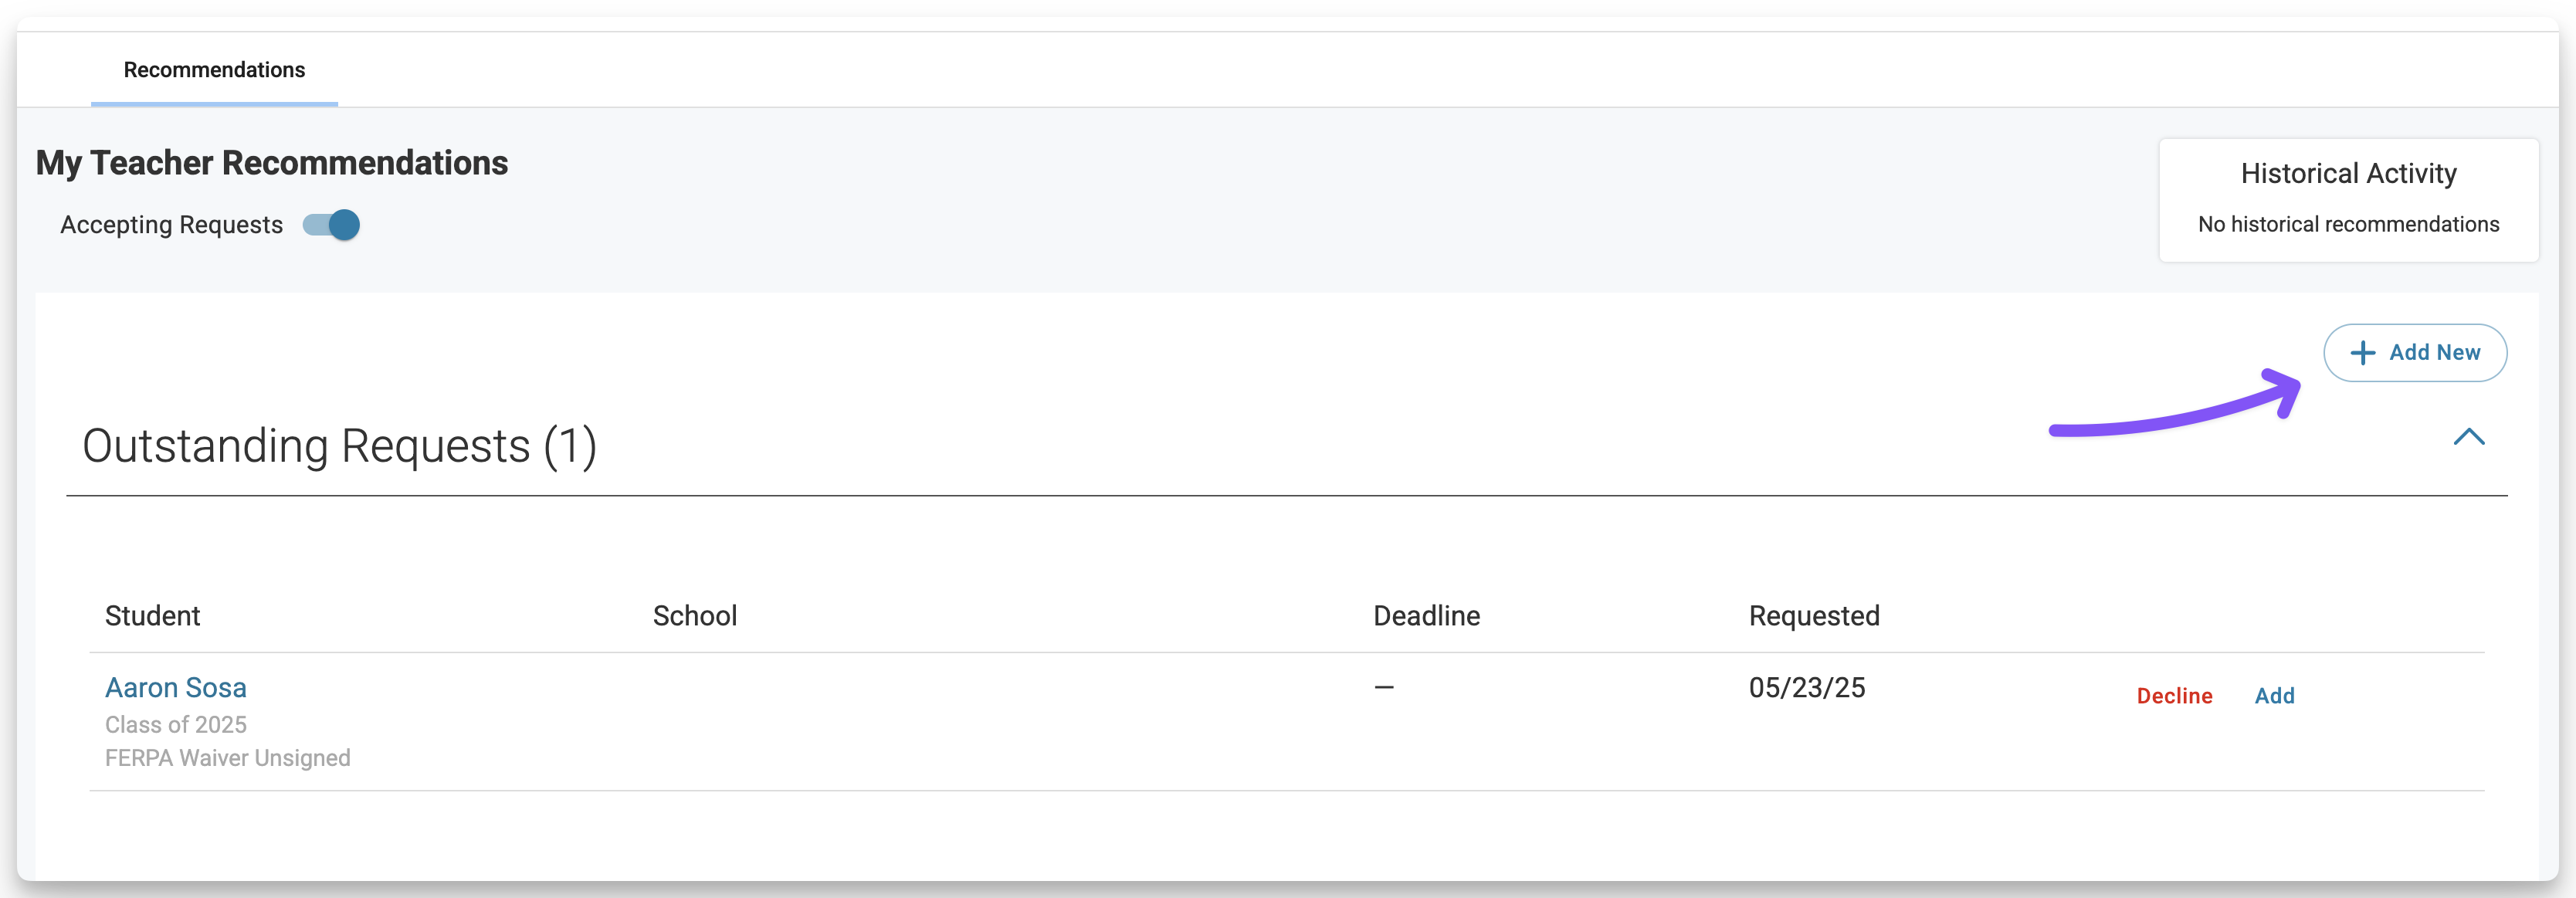
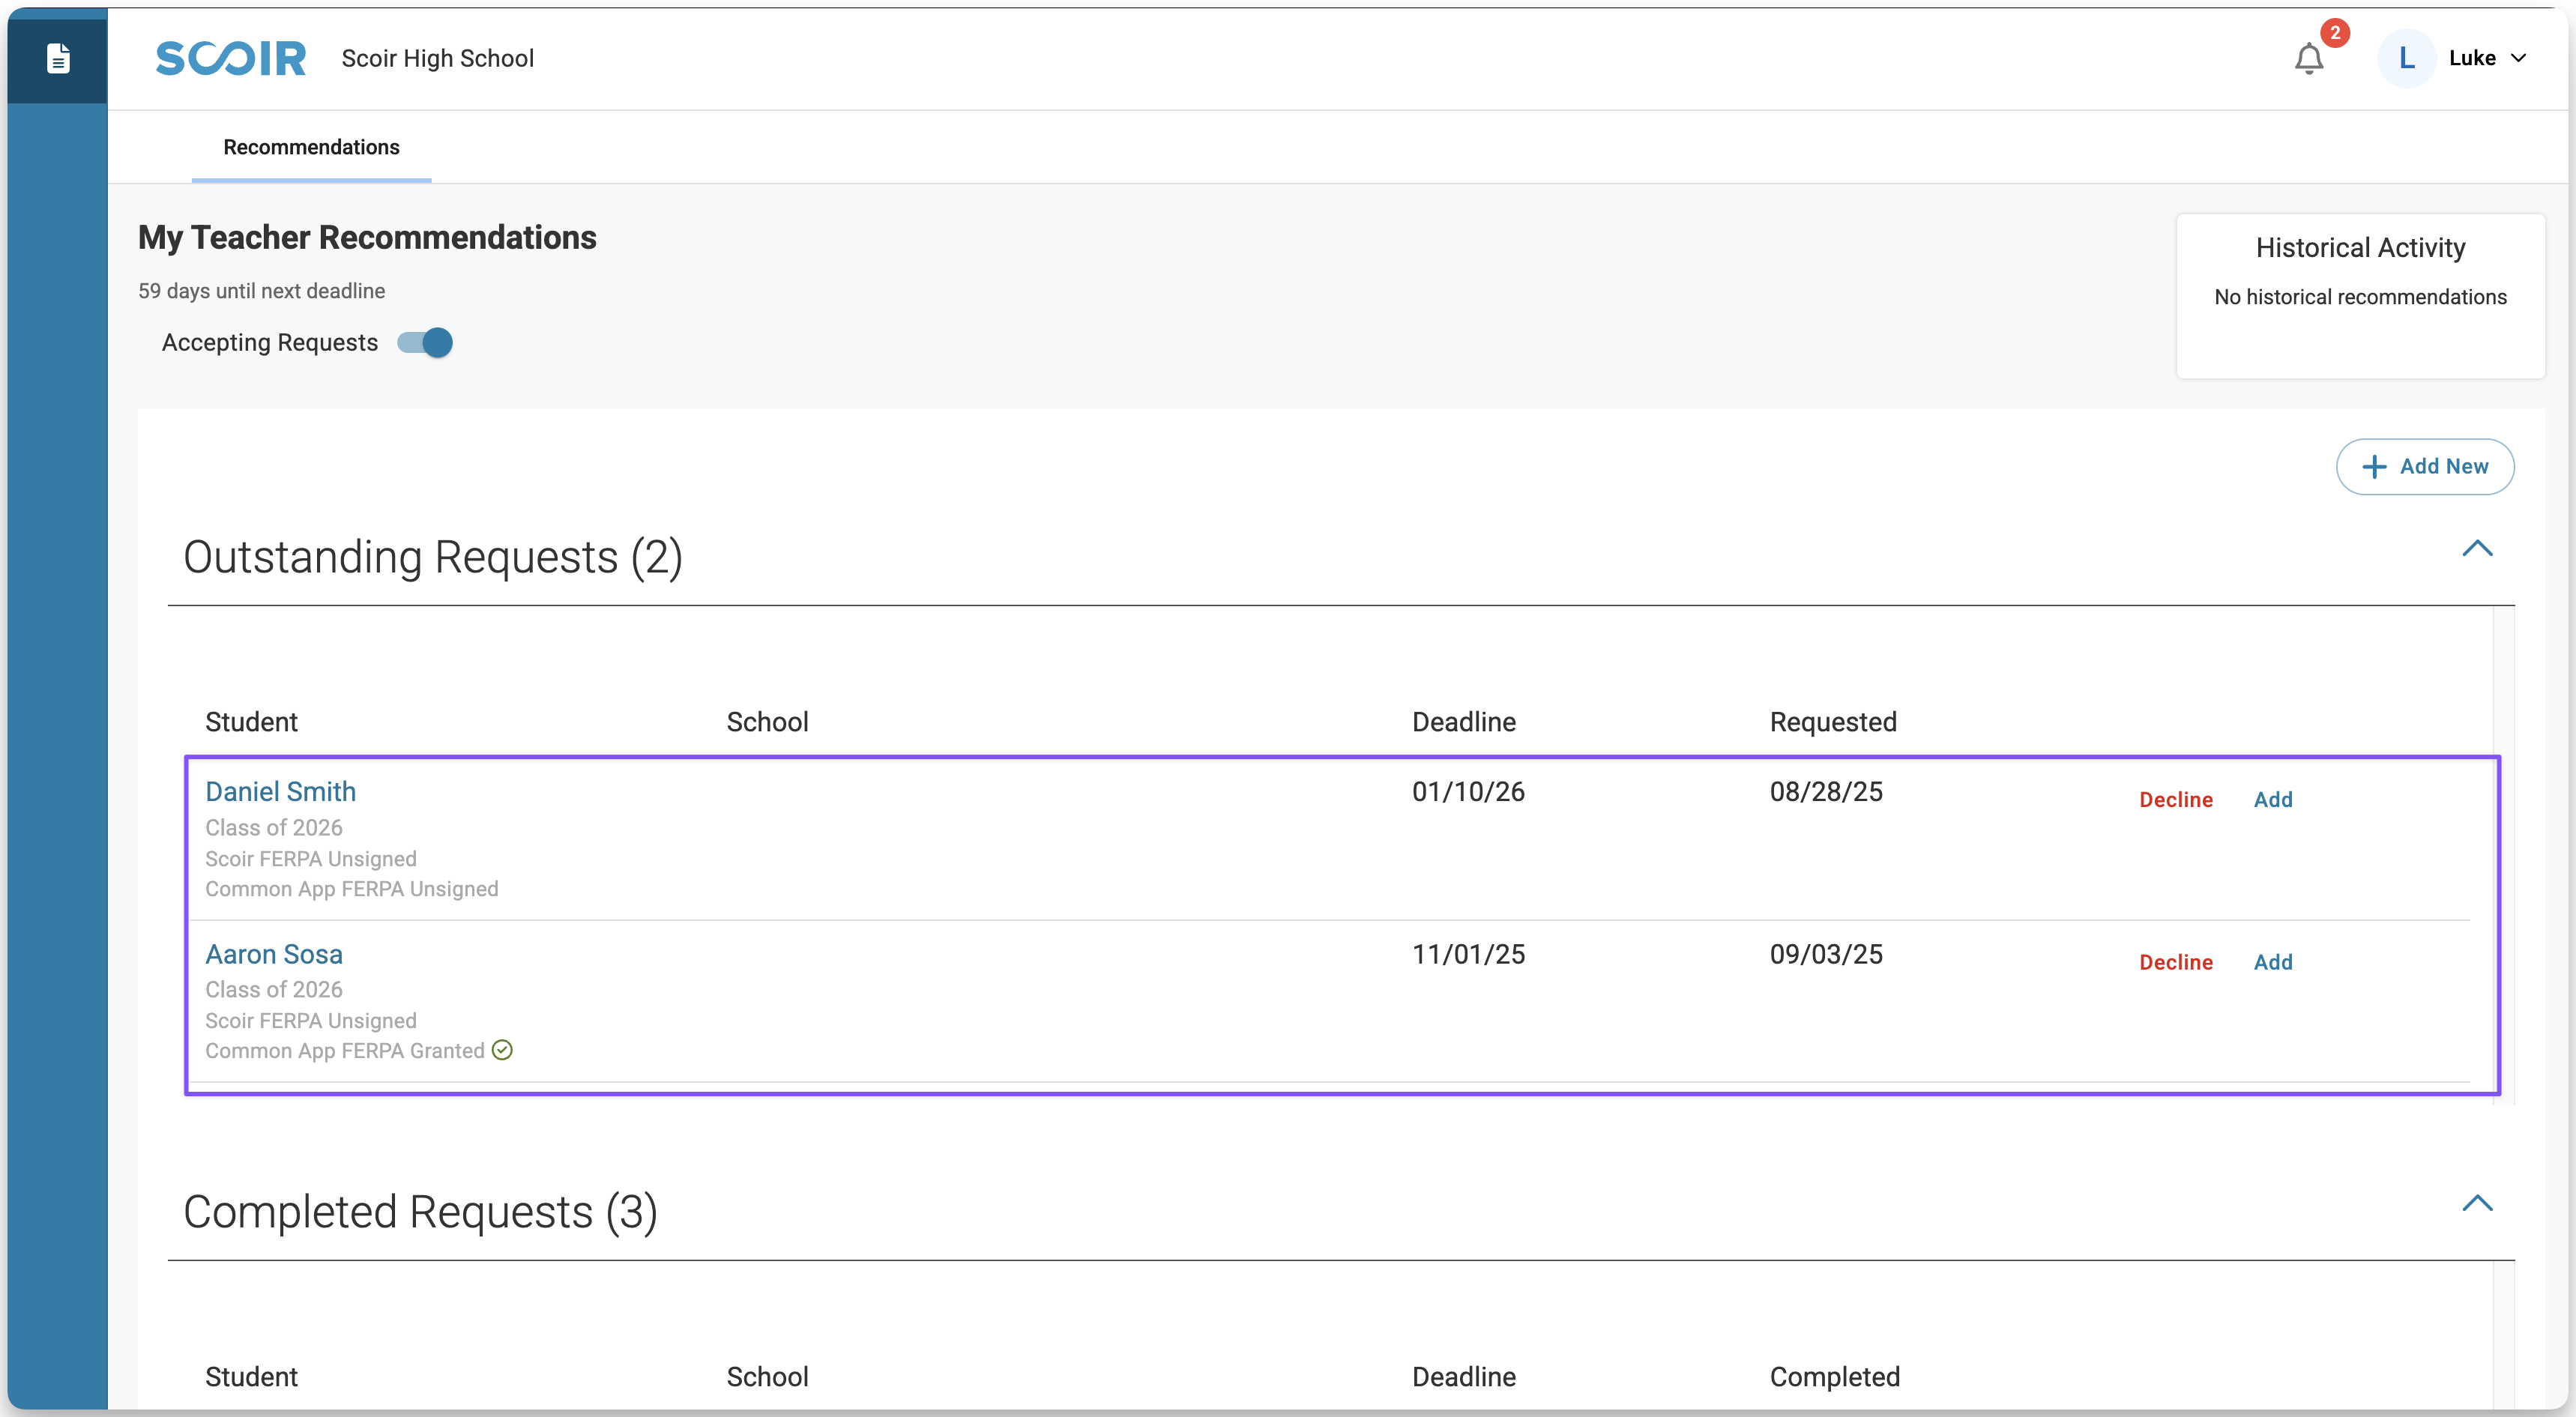
New recommendation requests appear in the Outstanding Requests section of your teacher dashboard.
If your school has granted access, click the student’s name to view their college list, extracurriculars, and any shared surveys or forms—this can provide helpful context as you write your letter.
Click View to see form or survey responses. If it isn’t available, the student has not completed the shared survey or form yet.
You’ll only see student info if your school allows teacher access, the student requested a recommendation from you, and the counselor shared any forms.
If you don’t have access but believe you should, contact your school’s Scoir Admin.
When you’re ready to begin, click Add next to the student’s request.
If your school uses the Scoir + Common App integration, teachers will be required to complete the evaluation fields for every recommendation. If you choose to include student ratings during your profile setup, you'll also be required to complete all 16 rating fields for every request.If your school does not use the Common App integration, but your Scoir admin has enabled evaluations and ratings, you’ll complete the required evaluation fields and can choose whether or not to include student ratings using the toggle. When the ratings toggle is turned on, all 16 fields become required.
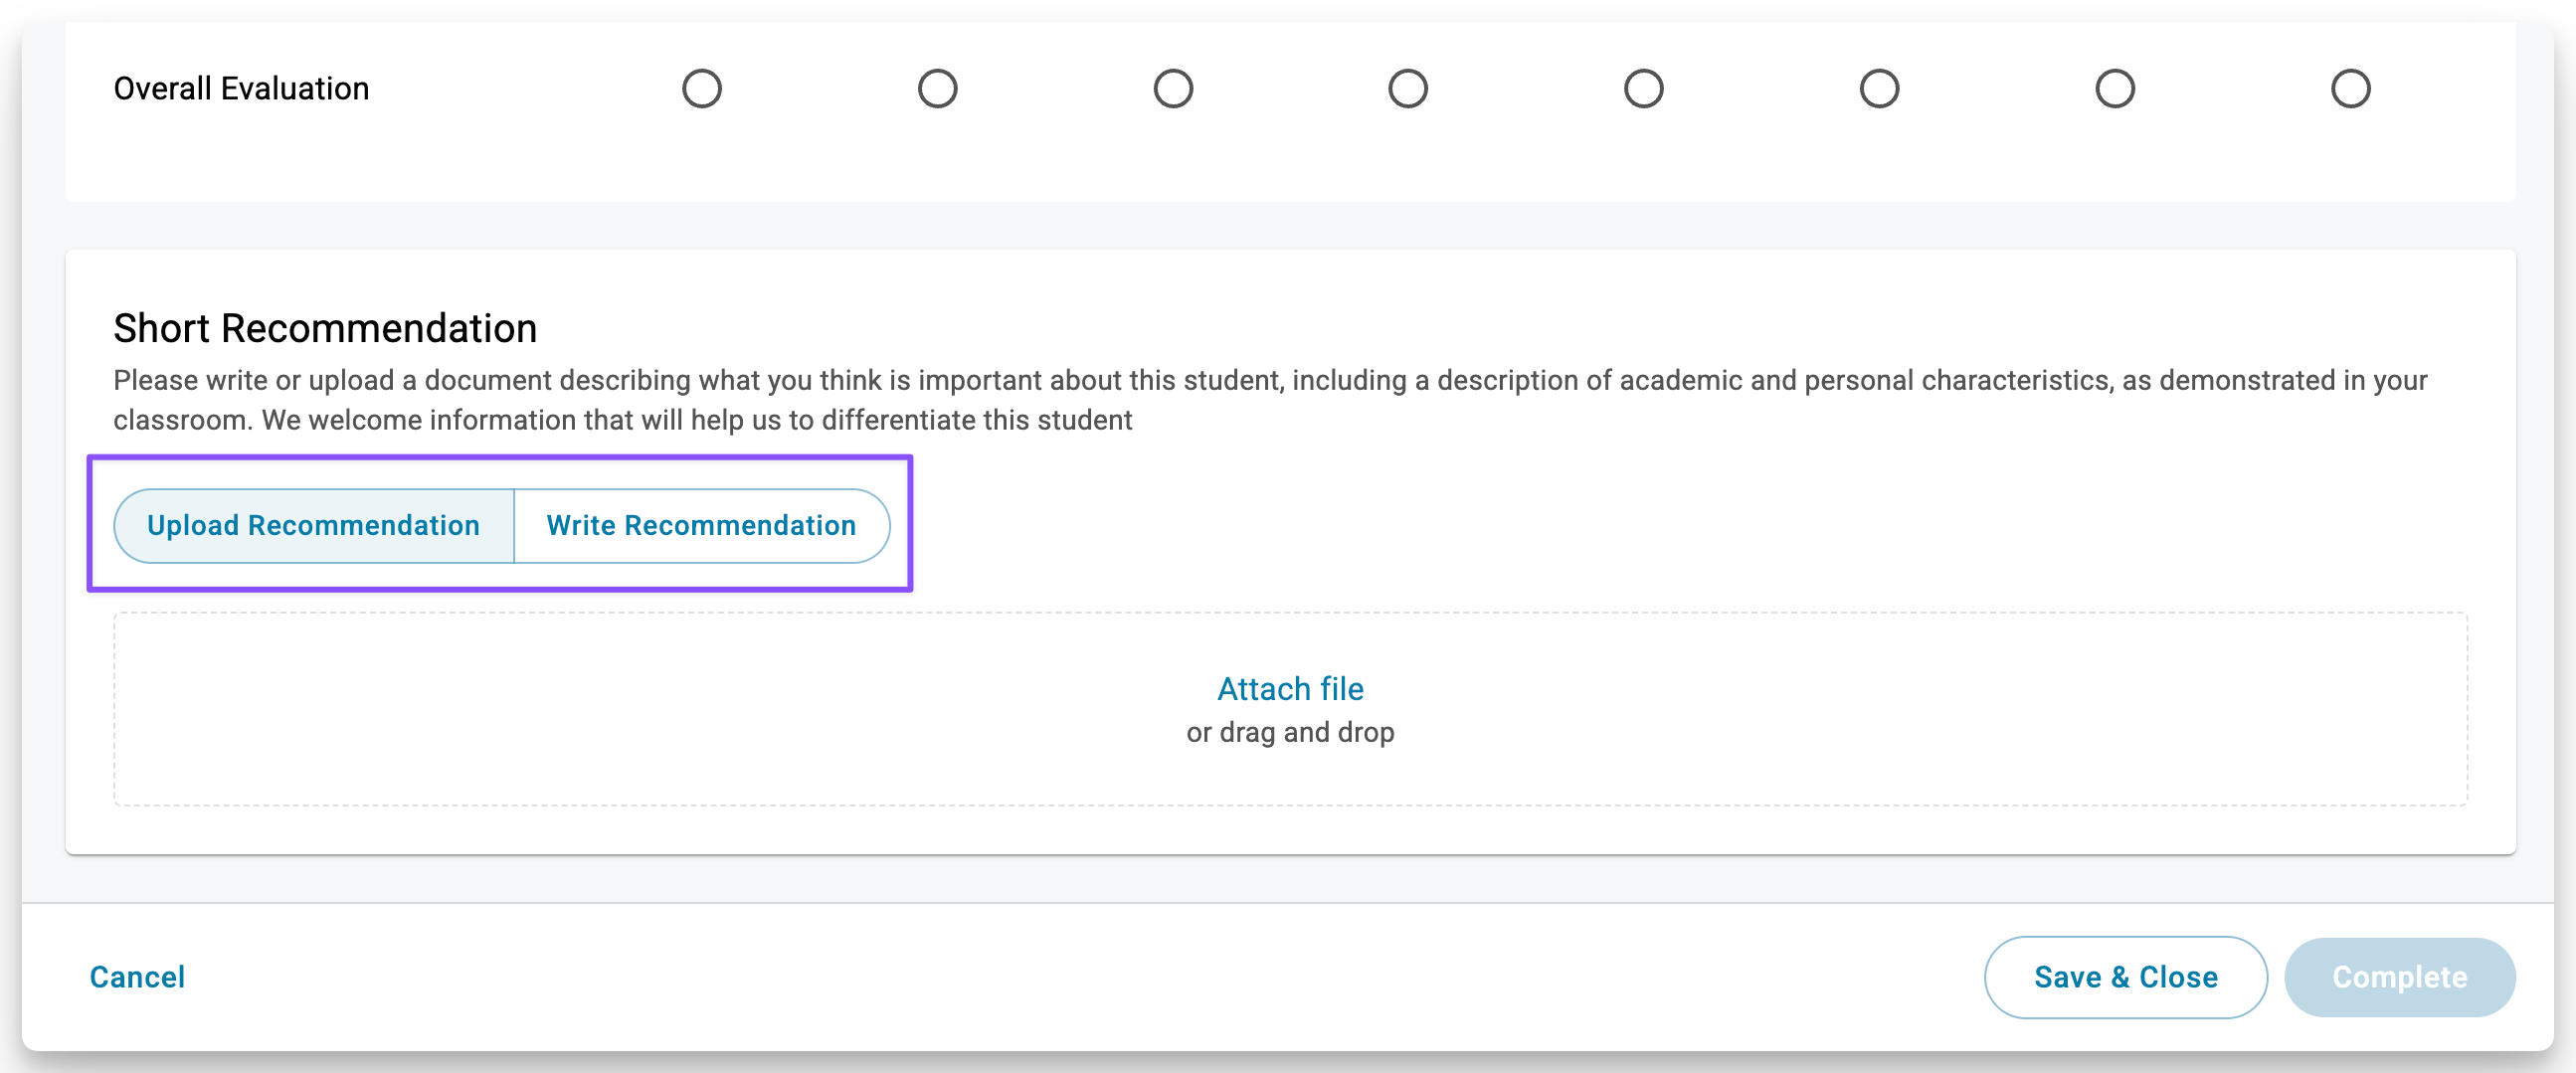
Choose how to provide your short recommendation based on your school's settings:
Upload a PDF: Click Upload Recommendation, then select + Choose a file.
Write in Scoir: Click Write Recommendation and compose your letter.
As you complete the recommendation, you can save your progress at any time by clicking Save & Close. The request will remain in the Outstanding section until it’s fully completed. When you’re ready to continue, just click Edit next to the request.
Recommendations in Scoir do not auto-save. If you need to stop and return later, be sure to click Save & Close so you don't lose your work.
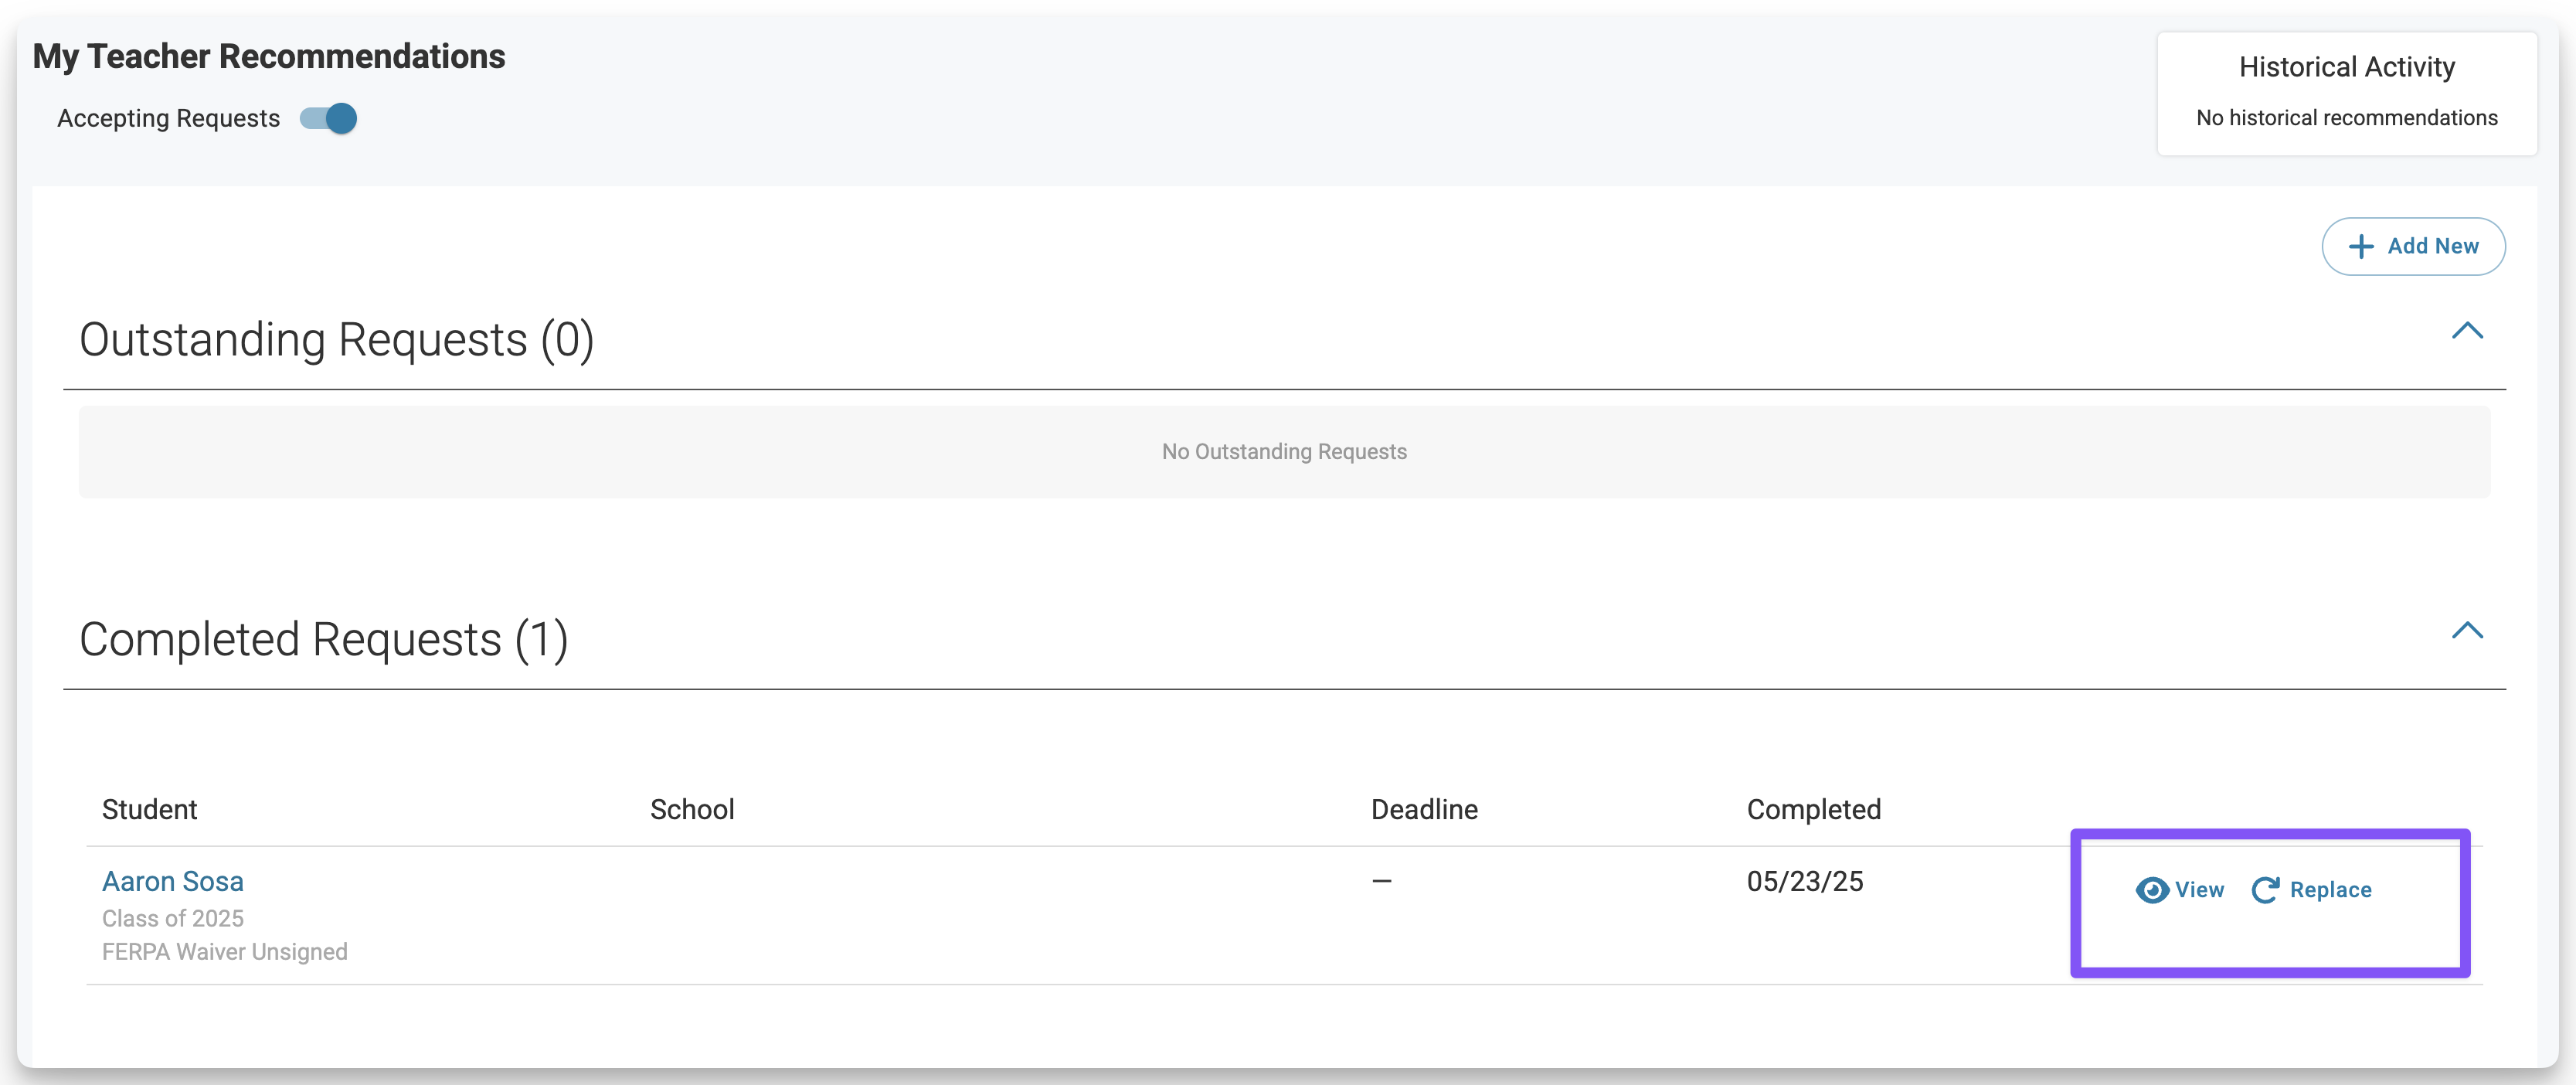
Once completed, the request will move to the Completed section of your dashboard, and the student will be notified in Scoir. A single PDF will be generated, which includes your profile info, evaluation details, student ratings (if added), and your letter. This document will be visible to counselors for review and will only be sent to colleges automatically if your school is configured to do so.
You can click View next to the request to see or download the final PDF. Click Replace to upload or write a new version of your recommendation.
Complete a recommendation without a request
To write a recommendation for a student who didn’t submit a request:
From your dashboard, click + Add New.
Use the search fields to find and select the student. If it’s a college-specific recommendation, use the college field to search for and select the college.
If enabled by your school, complete the evaluation and optional student ratings, then choose whether to upload your recommendation or write it directly in Scoir.
When you're ready, click Submit.
Decline a recommendation request
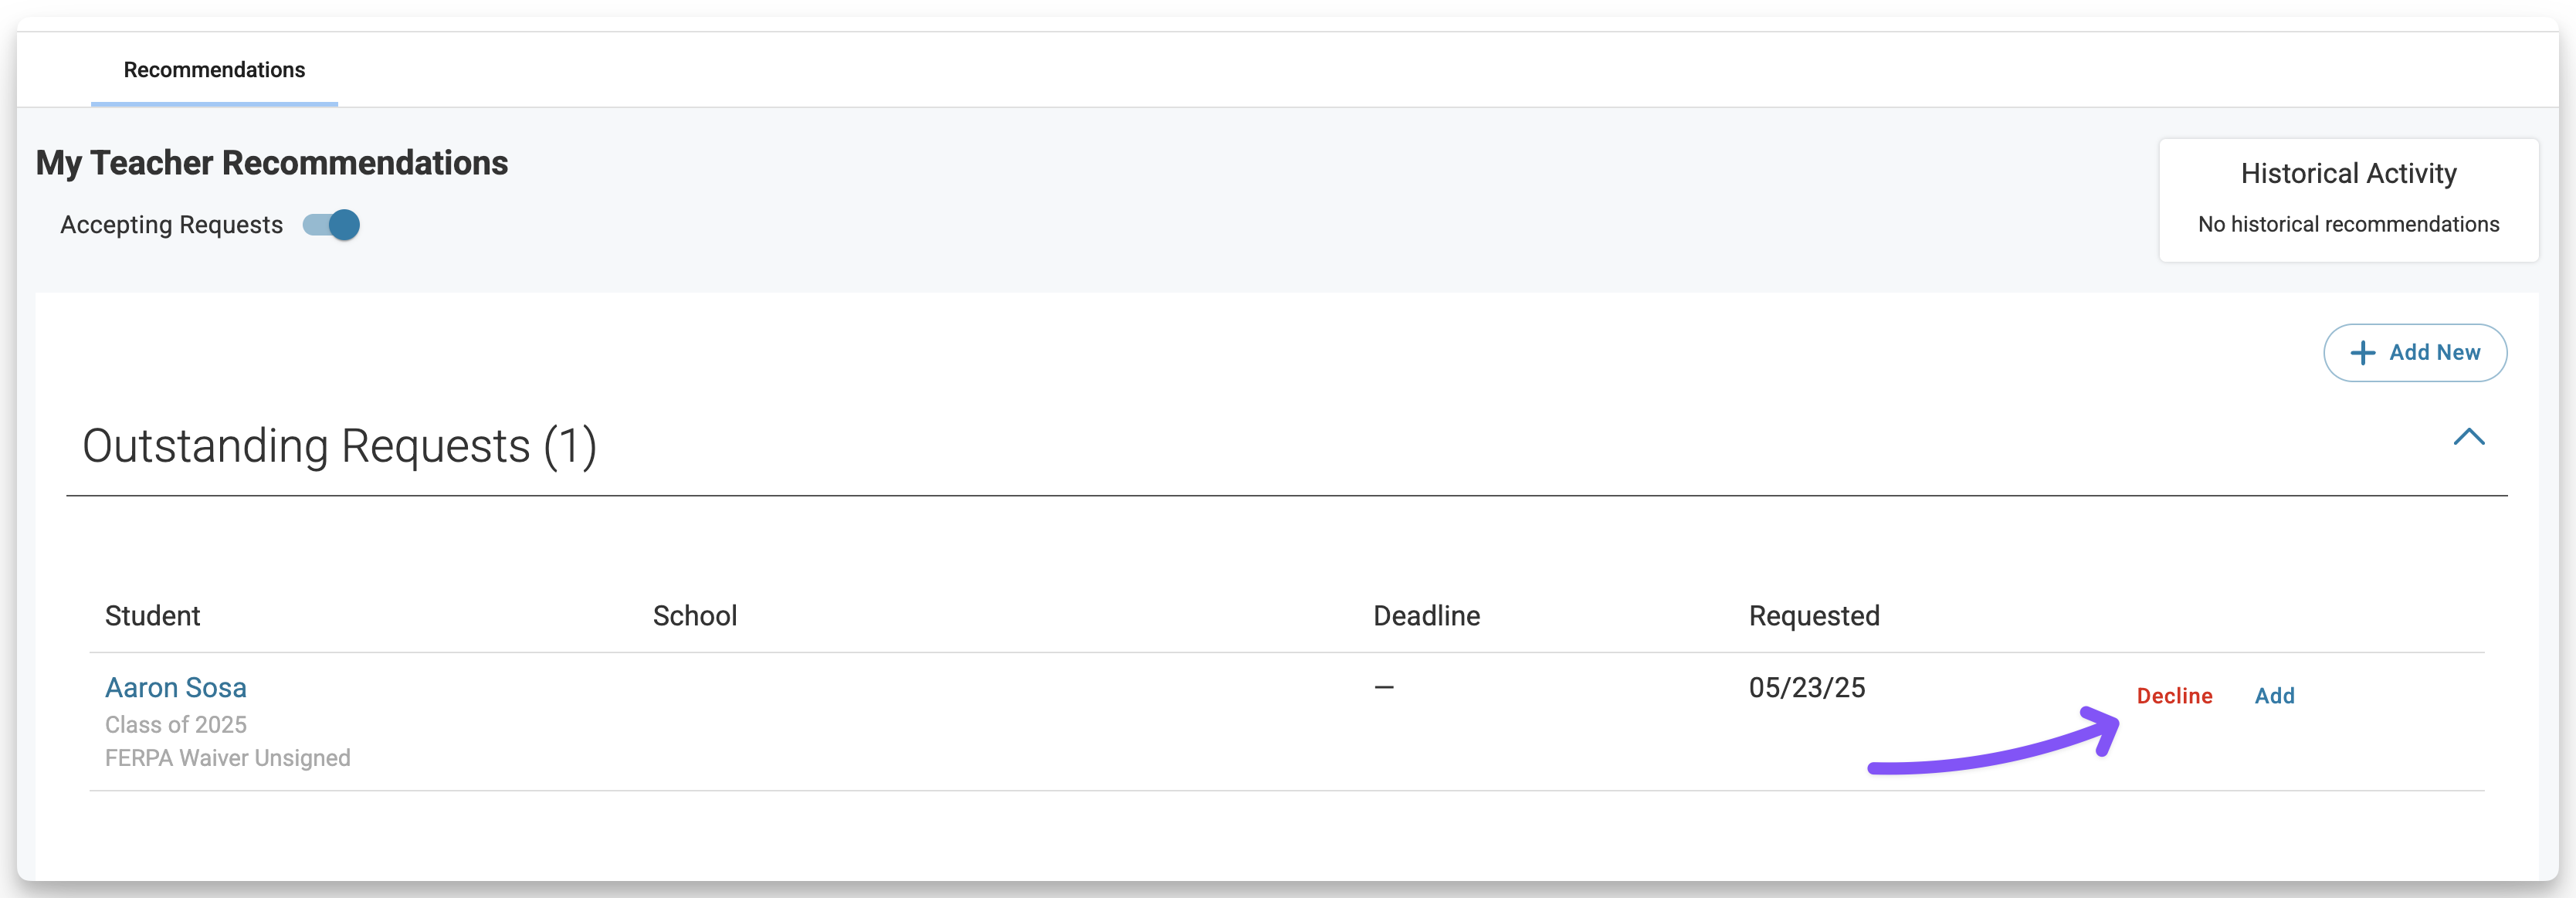
To decline a request, find the student’s outstanding request and click Decline.
You’ll have the option to send a message, which you can edit or remove before submitting. The student will be notified in Scoir once their request is declined.
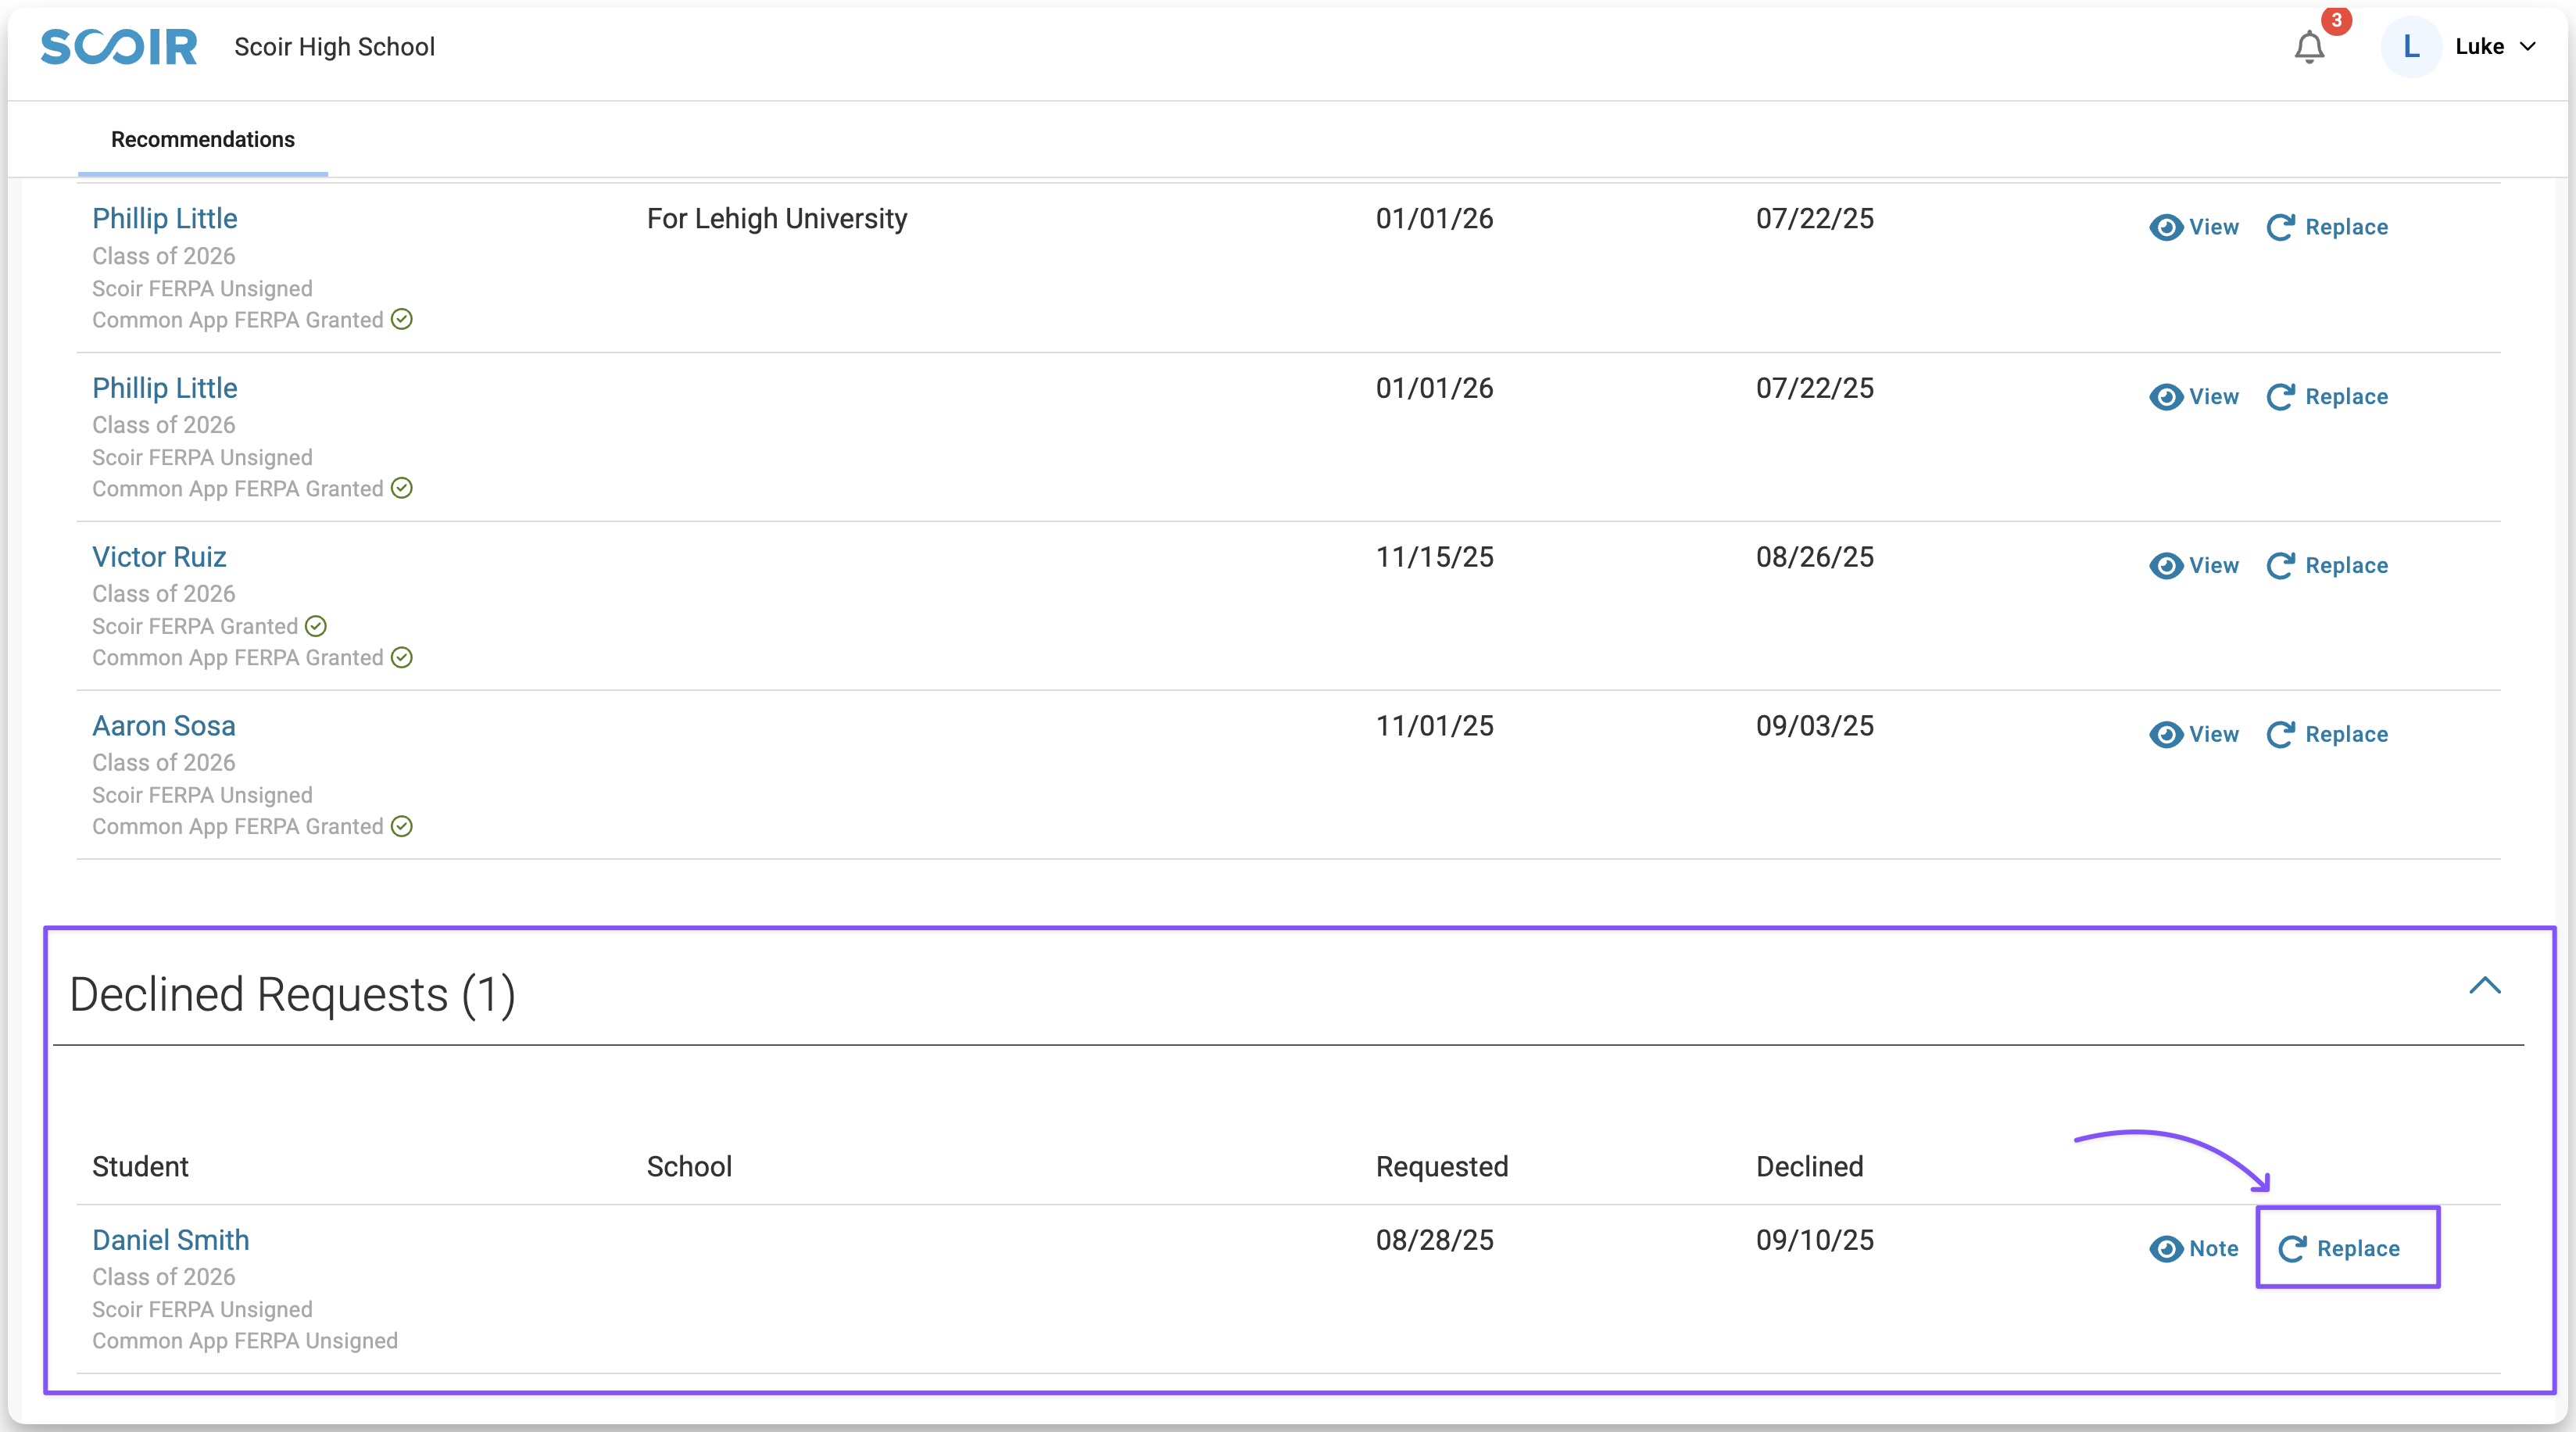
The request will also be moved to the Declined section of your dashboard for future reference.
Accidentally declined a request?
No problem! Go to the Declined Request section of your account. Next to the recommendation you declined, click Replace. This will move it back to the Outstanding Request section, making it ready for completion.
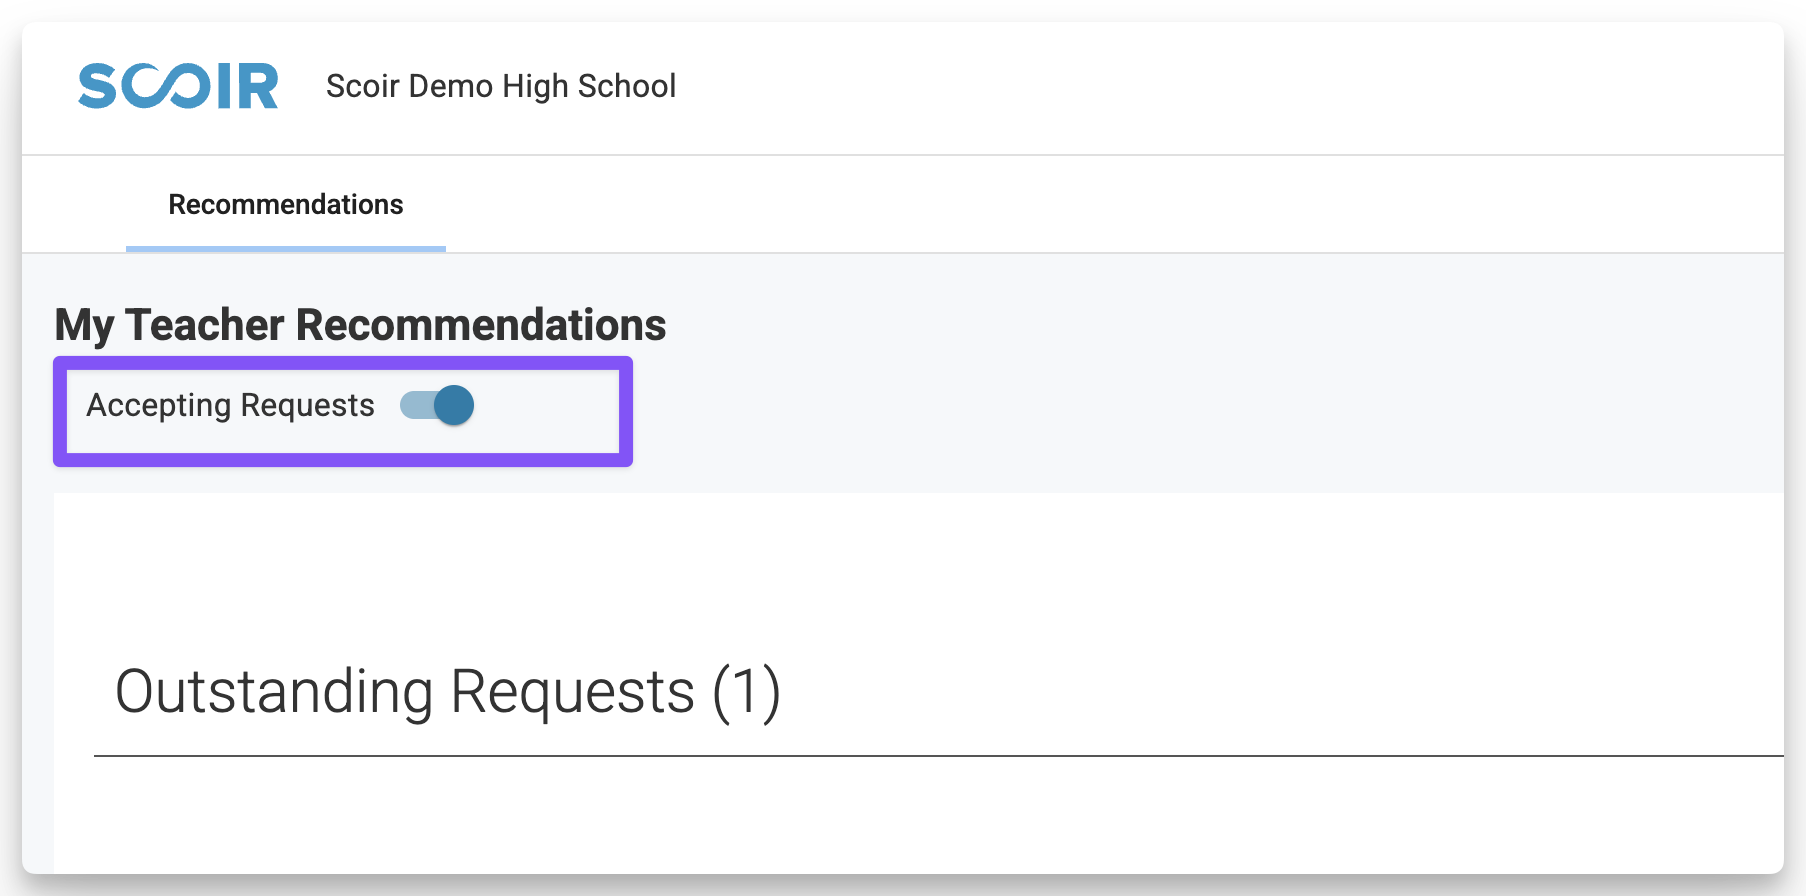
Set your availability for Requests
If you're unavailable or receiving too many requests, use the Accepting Requests toggle on your dashboard to manage your availability.
Turn it on to allow new requests or off to automatically decline them. You can update this setting anytime.
Providing Recommendations [Video Overview]
Please note that this video does not yet reflect the recent updates made to support the Common App integration.

 You’ll only see student info if your school allows teacher access, the student requested a recommendation from you, and the counselor shared any forms.